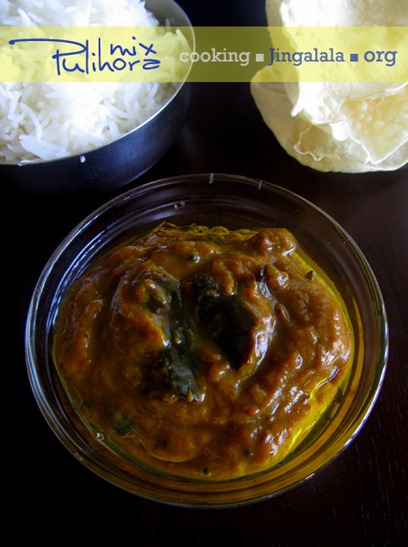
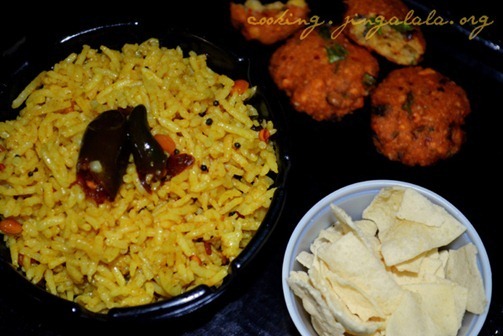
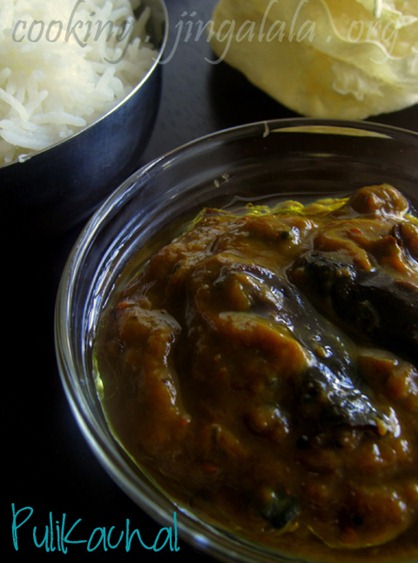
Sourashtra-style Puliyodharai mix ~ Pulikachal ~ South-Indian Tamarind Rice paste
Haven’t we chatted on Sourashtrian Cuisine in one of my earlier posts? This is yet another post that will boast about their dishes. Right from my childhood, I had liked and enjoyed many of their dishes, especially variety rice; Puliyodharai, Lemon Rice, Tomato Rice, Venpongal, Sambar and more. This Pulikachal recipe is one among those dishes that I learnt from my friends here. It is different from what we normally make because this pulikachal recipe requires no roasting or grinding job. A very simple puliyogare paste recipe that tastes HEAVVVVENLY! Truly! Angel![]()
We lived in a street where there used to be several Sourashtra neighbors. We also had many friends at school, who were also sourashtra. Those times, we used to go out for dinner almost on every Sundays. Or Appa will get parcels from one of the many sourashtrian restaurants in the bazaar. When Appa asks what parcel we need, I will readily utter “Puliyodharai”. Yeah, apart from the other variety rice of theirs, I just loved their puliyodharai that is usually accompanied with simple thattapayaru sundal (black-eyed bean salad). Their sambar is another ultimate combination. Today, whenever we have a chance to visit the town, we will get a parcel of each rice variety from these sourashtrian restaurants, and Amma knowing that there’s going to be demand for the puliyodharai in the dining table during the serving, she will ask us to get an extra parcel of puliyogare Winking smile![]()
Recipe courtesy: My friendly neighbor Sham and her mom. I only asked for the recipe, but they lovingly prepared the puliyodharai paste for me.
How to make Puliyodharai paste – with step by step pictures [Each image can be enlarged if Clicked]
Step 1. Soak tamarind in warm water for few hours. [I soaked it for 3 hours.] Once it is soaked well, start to pinch and extract pulp from the tamarind. Use a tamarind colander to strain the seeds and the hard coatings in the tamarind. Strain as many times as possible. This ensures that the hard coatings never escape into the extract. Discard the strained seeds and the residue. 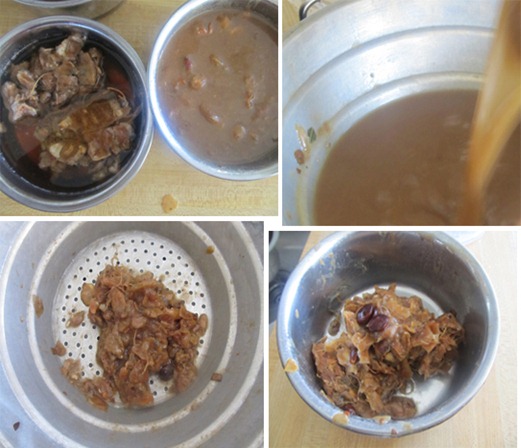
**
Step 2.** Keep the tamarind extract aside. Tear each red chili into two and keep them aside. 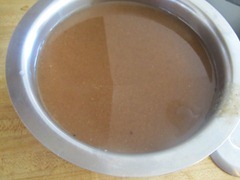
**
Step 3.** Keep a dry wok on the stove in medium flame. Add the oil. When the oil is hot add the mustard seeds. 
 **
**
Step 4.** [Caution: This step will produce more smoke. Ensure you switch on your chimney] Once the mustard seeds splutter completely, add the halved red chillies. Add the curry leaves. Sauté the red chilies and the curry leaves in the oil for 30 seconds to a minute. 


 Step 5. Once the red chillies are sautéed well, pour the extracted tamarind juice. Better switch off the flame before pouring in the tamarind juice since the juice will sizzle too much when you pour it on the hot oil. Switch on the flame and keep it high after pouring the tamarind juice.
  **
**
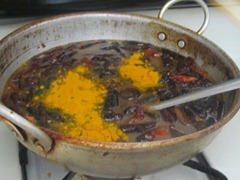
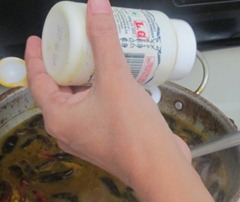
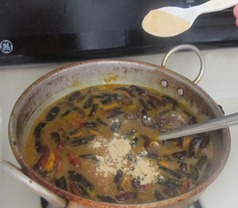
Step 6.** Add salt, turmeric powder, hing (asafetida/perungayam) and fenugreek powder (vendhaya podi). Mix well. [Note: Adding salt can be tricky because adding right amount of salt to the tamarind juice may result in a salty puliyodharai paste. We are going to condense the tamarind juice into a thick paste. So when you check salt in this stage you should feel slightly salt less.] 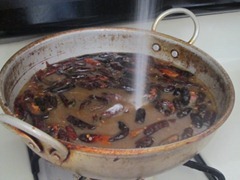
 **
**
Step 7.** Allow the juice to boil. The tamarind juice will slowly begin to thicken. Stir them from time to time. It takes time to thicken. The tamarind juice will condense and turn into a nice thick paste releasing oil to the sides of the vessel in the last stage. Switch off the stove in that stage (It took about 45 minutes for me to condense the juice to a thick puliyodharai paste). Allow the paste to cool to room temperature. [Note: Remember, towards the end of this stage, the oil will splutter and splash too much. It’s normal. You can reduce the flame if you do not find it comfortable.] 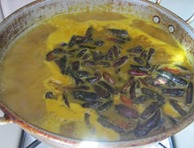

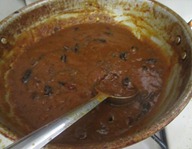 Step 8. Once the pulikachal paste has cooled down to room temperature, transfer it to a dry air-tight container.
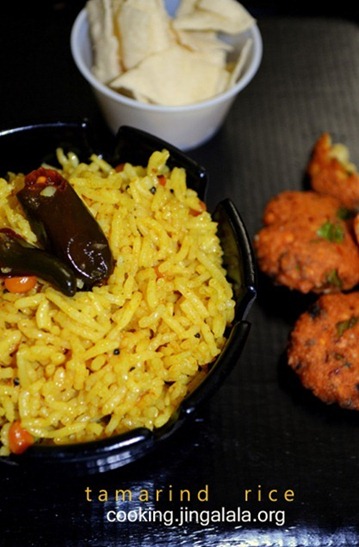
 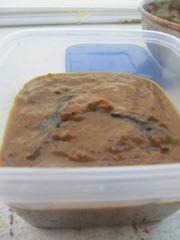 Or you can go ahead and make the pulisadham/tamarind rice.
3Ts [ Tips | Tricks | Tactics | Secrets ] to make Puliyogare mix
- The color of the puliyodharai paste depends on the tamarind used. Dark tamarind (pazhaiya puli/old tamarind) gives great taste and nice dark color to the pulikachal. I was not able to find dark tamarind here in the US, so to balance the sour taste of the tamarind, I had to use so much of dry whole red chillies.
- We are not adding bengal gram (kadalai paruppu) while tempering for the pulikachal because as it gets cooked in the tamarind, it might take the sour taste too much and beomes more and more sour when it gets soaked in the pulikachal if you plan to store the puliyodharai paste for months. So it’s better to use bengal gram just before you mix the puliyogare paste with the rice.
- When the pulihora paste starts to turn thick, the oil used will start to splash too bad and will definitely spoil the stove and the area around. So you should not be surprised to clean the stove and the walls after the paste is done.
- Store the pulihora mix in an airtight container only after completely cooling it down to the room temperature. And when you store it the container, add extra sesame oil, may be 3 to 4 tbsp.
- The taste of the pulikachal paste increases day by day as it sits in the container for several days. Puliyodharai paste has the long shelf-life in refrigerator. It keeps well for more than 3 months.
- Do not put your hands in the pulikachal paste. Doing so will make the puliyogare paste spoil very soon. Yes, you’ll be tempt to lick the paste, but do not do it

Winking smile
. - Methi/fenugreek powder plays a vital role in this pulikachal recipe. If you want to make methi powder, I can gist the process. Dry roast fenugreek seeds. Cool them to room temperature. Grind them in a mixer and sieve it to get fine powder. [You can use the left out sieved granules while preparing Idly batter]. Do not burn the fenugreek seeds while roasting. Roast until you begin to get the warm methi smell.
Again, the Sourashtrian restaurant about which I spoke in my prologue…I just love to handle the food parcels from this restaurant, especially, the puliyogare parcel. Actually the big piece of plantain leaf which they use for packing the puliyodharai parcels adds a mysterious flavor to their puliyodharai. Ketti chutney in a smaller piece of plantain leaf hidden under the puliyodharai is like a cute surprise for the customers. [ Aah, if you’re ignorant about “ketti” chutney, it’s nothing but thick dollop of coconut chutney(without seasoning) Nerd smile Smile with tongue out Smile![]()
![]()
![]()
There are more stories on Puliyodharai. I’m saving it for my future post on “traditional South-Indian preparation of Puliyodharai” which we normally used to prepare at home by dry roasting and grinding the lentils. Until then, you enjoy trying out this simple yet the tastiest Puliyogare recipe. The good part is this pulikachal recipe does not require any grinding/blending work that suits best for the current status of Tamilnadu power supply. I’m not sarcastic here; I’m only trying to be realistic with the ongoing power issues in Tamilnad Embarrassed smile![]()
Puliyodharai {without grinding powder}
- PREP TIME: 3 h
- COOK TIME: 1 h
- TOTAL TIME: 4 h
- DIFFICULTY: easy
- RECIPE TYPE: Sauce/Paste for Rice {Maindish}
Ingredients:
- Tamarind – 8.8 oz (1/4 kg)
- Salt – 2 tsp. (Please read 3Ts section for salt level)
- Water – 5-6 cups
- Methi powder (Fenugreek powder/vendhaya podi) – 1 tsp.
- Asafoetida (Perungayam) – 1 tsp.
- Gingely oil (Sesame oil) – 7 tbsp.
- Mustard seeds (Kadugu) – 2 tsp.
- Dry whole red chilies – 30-40 (Please read 3Ts section)
- Curry leaves – 5 springs
- Turmeric powder – 1 1/2 tsp.
Mangala from Cooking.Jingalala.Org Eat Well !
