How to grind South-Indian Idly batter using mixie | Tamilnadu Idli-dosa batter recipe
What do you think when a girl from the southern parts of India suddenly lands on a vast space covered full of snow? … Gets super-excited? Jumps with joy? Starts to dance in the snowfall?? Nah, it is none of the above. Believe it or not, the first fear that struck me when I landed in the US was ‘how can I ferment the Idly batter in such a cold climate!’ The snow brought me nostalgia of Idlis and Dosas so very soon that I did not even reach my apartment from the airport. In India, Amma used to grind the batter in the morning and have the fermented batter ready by the afternoons during the summers. Or she grinds the idly batter during the night and gives us the pleasure of tasting soft fluffy idlis the next morning. I kept wondering if I will be able to mimic her Idly batter preparation in this harsh cold weather at least to some extent Confused smile![]()
If the harsh snowy climate was the first reason allowing me not to make any idly batter, the blender which I brought from India was the second reason. The blender was a blunder! It did not grind even chutneys properly! Can you even believe that I spent almost whole of the winters without Idly and Dosa! Then came the new mixie [I purchased Preethi Eco Plus Mixer Grinder (Mixie)] …. then came my beloved Miss.Summer. I thought I should make ‘hay’ (ok, here read ‘Idli’ Smile with tongue out![]()
How to make Idly batter (Idly maavu) using Mixie – with step by step pictures (Click each image/photo to enlarge)
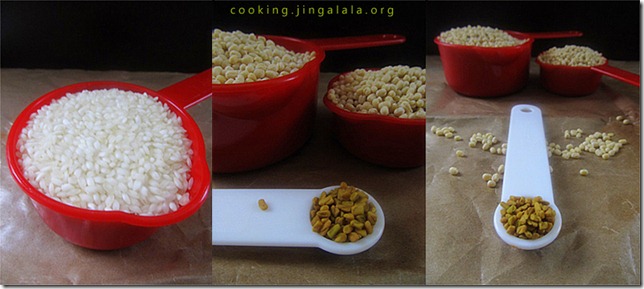
Step 1. Wash rice and drain the water (I do the washing two times). Soak the rice in water overnight (preferably 8 hours / at aleast 4 hours).
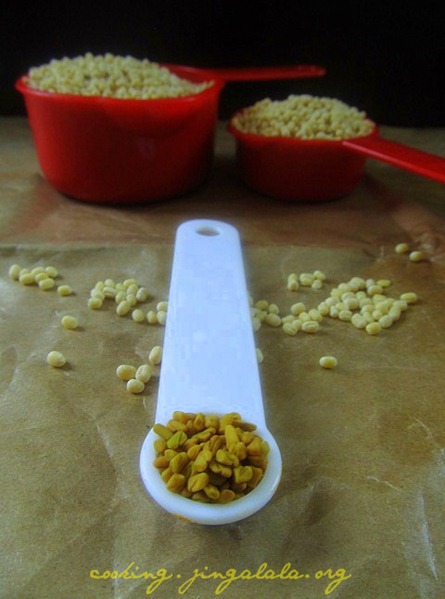
[](/images/idli-rice-11.jpg)Step 2. Just half-an-hour to 1 hour before you start to grind the batter, wash urad dal and drain the water (I do the washing two times). Soak the urad dal with enough water. Add the fenugreek seeds with the urad dhal while soaking. [A good quality urad dal will drink almost all the water that is used for soaking. So use ample amount of water to soak urad dal.] We soak urad dal just for ½-1 hour because too much soaking will not give volume to the batter when ground.
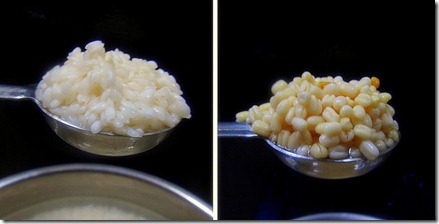
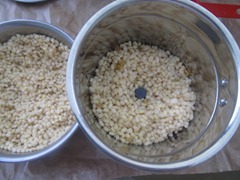
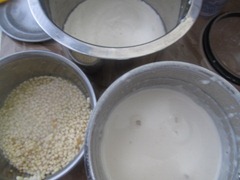
[](/images/uluthamparuppu-idi-pulipathu-11.jpg) [](/images/urad-dal-idly-11.jpg)Below are the pictures of soaked rice and urad beans.
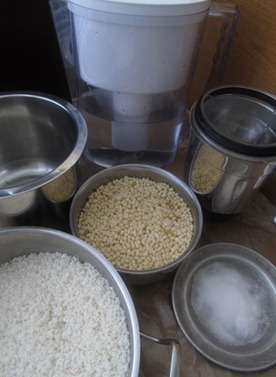
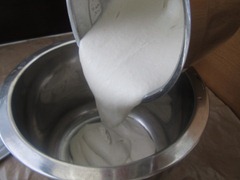
Step 3. Set ready for grinding the batter.
Step 4. Preheat the oven to 90 degree Fahrenheit (32 degree Celsius). I do it for 5 to 10 minutes (Until I finish grinding the batter). After preheating switch off the oven. 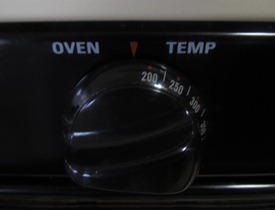
Step 5. Load some amount of white lentils with 1/2 cup of water into the mixer jar. See to that there is enough space inside the jar. I normally grind urad dal (the amount given in the ingredients list) in two batches. Grind for 20-25 seconds. Then stop the mixer and rest the jar with the lids open for few seconds (may be 30 seconds). Operate the mixie in Low speed (speed 1).
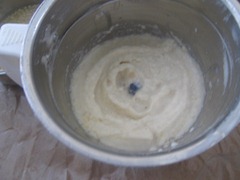
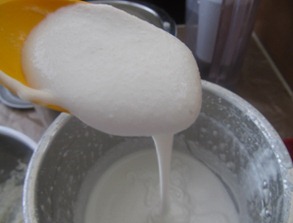
Step 6. Add another 1/2 cup water to the batter and now grind it to a smooth paste to a buttery consistency. Do you see how much volume the urad dal has given to the batter?
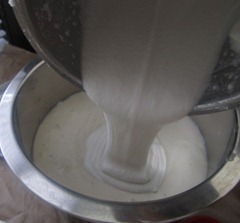
Step 7. Transfer the batter to a clean vessel. Select a big container. Grind the rest of the urad dal in the same way and collect them in the container. I used 2 and 1/4 cups of water to grind the amount of urad dal given in the ingredients list. i.e. around 1 and 1/8 cups of water for each batch.
Step 8. Once you grind the urad dal, load some amount of the rice into the same jar with 1/2 cup of water. See to that there is enough space inside the jar. I normally grind the rice (the amount given in the ingredients list) in three batches. Grind for 20-25 seconds. Then stop the mixer and rest the jar with the lids open for few seconds (may be 30 seconds). Operate the mixie in Low speed (speed 1).
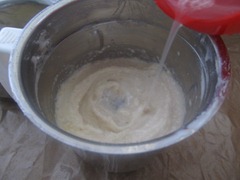
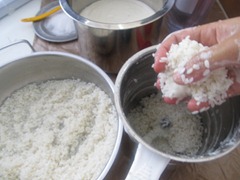
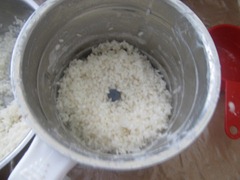
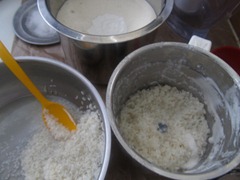
Step 9. Now, DO NOT add any water again. Rice is not like urad dal. Adding more water will make the batter too watery. Run the mixie for another 10 seconds or until the rice is ground to a coarse paste. Remember, the rice must be ground to a consistency such that you should feel the tiny granules. Do not grind the rice to a smooth batter. Transfer the ground batter into the same container.
Step 10. Grind the rest of the rice in the same way and collect them in the container. I used 1 and 1/2 cups of water to grind the amount of rice given in the ingredients list. i.e. 1/2 cup for each batch. Now add salt to the batter.
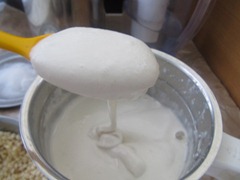
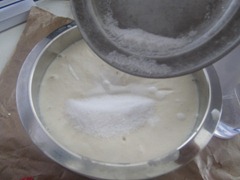
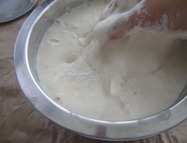
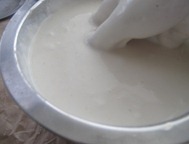
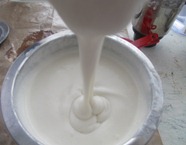
Step 11. Beat and mix the batter thoroughly with your hands (with your clean hands). After thorough mixing, the batter must be thick and running consistency (NOT **watery** and running consistency). Do not be afraid to add little more water to mix if you feel the mixed batter is too thick. Use a spoon and taste the batter to check salt. Never ever forget to add salt to the batter before making it ready for fermenting. [Add salt only while mixing with hands and not when you run the rice/urad dal in the mixer grinder]
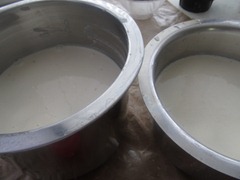
Step 12. We need good space in the vessel for the batter to rise during the fermentation process. Else the fermented batter will overflow. So I transferred half of the batter to another vessel (each vessel was half filled with batter).
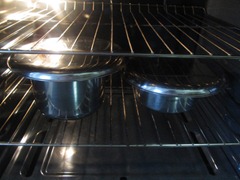
Step 13. Close the vessel with a lid and place them inside the preheated oven (Double check if the oven is switched off). Close the oven doors. You can keep the oven lights on. One of my friends Laksh said its warmth can also aid the batter to ferment. Let the batter stay overnight or at least for 8-12 hours.
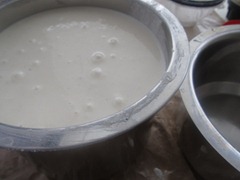
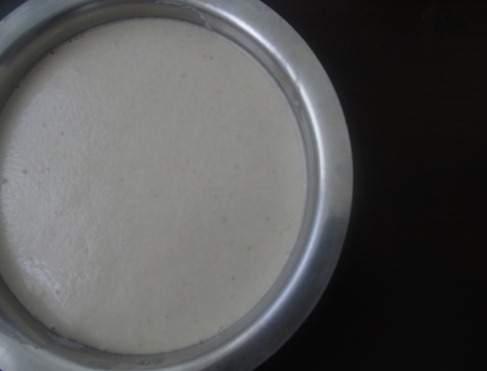
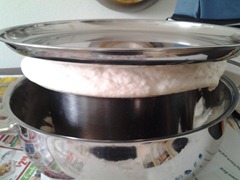
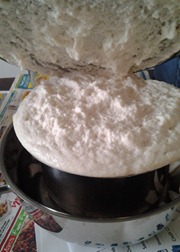
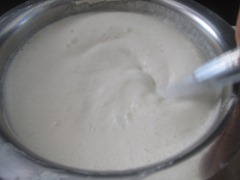
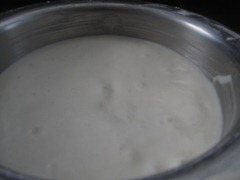
Step 14. For me it took 15-18 hours to ferment the batter. Fermented batter releases a distinctive smell. Fenugreek seeds play an important role in giving this smell and in the fermenting process. If your batter did not rise nicely until the brim, don’t presume that your batter did not ferment. Take a ladle full of batter from the vessel and check if the batter in the vessel has holes and air bubbles in the depression left by the ladle. If you see the air bubbles and feel the fermented smell then your batter is ready to use.
[Optional] If I wanted the batter to ferment in 8 hours, I add 1/4 to 1/2 tsp. of baking soda (or baking powder) just before mixing the batter and setting it ready for fermentation (i.e. adding it along with salt in step 11). This really will give better results during harsh snow season. The below pictures are the fermented batter during summer season. Same kind of fermenting results if you add baking soda (or baking powder) during the winters.
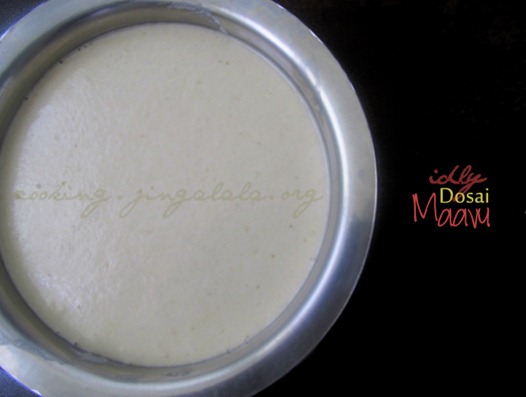
Step 15. Once the batter ferments, you can use it right away to make idly and dosa. Normally, mom does not mix the fermented batter. But I normally give a mix with the ladle. I do not beat the batter, but only mix it. Beating it will release the gas and the bubbles in the batter which are the key to make soft fluffy idlis.
Step 16. Take the required amount of batter in a small vessel and keep the remaining batter in the refrigerator immediately since leaving it in room temperature will make the batter to sour too badly. [But, during winters even after I see the idli-dosa batter rise, I do not keep them in fridge. I let them stay in room temperature for half-a-day giving them more time to ferment well until I’m satisfied with the fermented smell. That’s why in step 14, I’ve mentioned the total fermenting hours as 15 during snow season.]
3Ts [ Tips | Tricks | Tactics ] to make Idly batter in Mixie (Blender/Mixer Grinder)
Grinding Idly-Dosa batter in Mixie (mixer grinder/blender) and grinding idli-dosa batter using wet-grinder are completely different stories. Because:
Unlike the wet-grinders that use stone for grinding, mixers depend upon their blades for grinding. Size, motor and their functioning with closed-lid are the other limitation when we try to grind batter using a mixie.
Aeration plays a major role in grinding batter for idli. Aeration gives nice volume to the urad dal batter. We should give enough space inside the mixer jar for every batch of rice/urad dall we grind in the mixie.
Grinding urad dal in a wet-grinder gives nice volume since the wet-grinder has a wide-open-mouth. But when you make the urad dall batter for idly using a mixie, the urad dal may not produce similar volume to the batter. If the quality of urad dal is very good, then rice : urad dal ratio of 3:1 cups should do fine when you grind in mixie. Add 1/4 cup more of urad dal if grinding in mixie is not giving much volume to the urad dal batter.
If you do not leave enough space in the mixer jar and try to stuff more of rice/urad dal in a single batch then the mixie will get heated soon. The motor and the blades of the mixer grinder are designed only to hold certain amount of the material and to run only for a certain time continuously.
At times the lids may even fly due to pressure in an overloaded mixie jar. If you operate the mixie continuously more than 25-30 seconds they start to generate heat. Worst case, the blender will stop working. If this happens, press the red button that is present at the bottom of the mixie motor. So operate the mixer continually rather continuously.
The heat generated by the motor heats up the jar which in turn heats up the batter. Heating up the batter means killing the good bacteria in the batter. This will lead to tasteless idlis and dosas.
Another important point which we miss when we grind the idli batter in mixer grinder is the consistency of the rice batter. Since we won’t be able to check the doneness of rice easily like we do it in wet-grinder, we operate the mixie too fast that the rice will get ground too smooth. You should feel a rough rice batter (with tiny granules) after it is ground. We do not need smooth rice batter for making idli. Only urad dal must be ground smooth and not rice.
I use Preethi Eco Plus Mixer Grinder (Mixie) *and I use the *medium sized jar for grinding (jar marked with green dot in the below series of picture). Do not neglect this point. The large jar might look like a boss but it is not grinding the batter properly. It gets heated too badly and stops functioning abruptly

The points given above are only for grinding idli/dosa/adai batter. Otherwise, this mixie [Preethi Eco Plus Mixer Grinder (Mixie)] is a sweet heart to me Winking smile![]()

3Ts [ Tips | Tricks | Tactics ] to make Idly batter in cold weather conditions without oven
Follow any of these points to ferment Idly batter in Winter seasons if you do not have an oven.
- Add 1/4 to 1/2 tsp. of baking soda (or baking powder) while you mix the batter before fermenting. Take an old jean and iron it with the highest temperature settings. Immediately after ironing wrap it tight around the batter vessel. This should give enough warmth to the batter to rise. Tip shared by one of my Managers in office

Open-mouthed smile
. - Add 1/4 to 1/2 tsp. of baking soda (or baking powder) while you mix the batter before fermenting. Place the batter vessel inside a big vessel of warm water and close the vessel of water with a tight lid.
 **
**
Other secrets in making the Idly-Dosa batter (Idly/Dosai Maavu)**
There are several myths in the making of Idly batter. But I’m no chemist or an experienced chef to explain the chemistry behind every myth. Though I can question my mom and can fill my post with all the information about Idly-dosa batter, I leave it to the readers to understand the chemistry behind these myths.
- Once you mix the batter and make it ready for fermenting, just sprinkle little water with the tip of your fingers.
- Close the batter vessel with a heavy lid. We place a plate and keep the dosa-stone above the plate.
- Adding fenugreek to the Idly batter does 3 jobs. It helps in the fermenting process, gives great smell to the batter (that in turn passes the smell to the Idly and Dosa) and gives the Golden color to the Dosas.
- There is nothing separately called “Dosa batter”. Fermented Idly batter is dosa batter, or may be Fermented Idly batter + little more water = Dosai batter. If your batter did not ferment nicely and you need Dosa, instead of water, add little sour butter milk or curd with the batter before making the Dosa.
- If the idly turn out to be hard, add little (may be 1/4 tsp.) of baking powder in the batter and beat well. Then the next batch of idlies should be soft.
- During the winters in India, the batter won’t ferment nicely. So I add 1/4 to 1/2 tsp. of baking soda (or baking powder) when I mix the batter before fermenting (in Step 11.). Since we do not have an oven in India, we place the batter vessel above the stove (of course, switch off the flames. And the stove should have been kept busy all through the day, enough to supply the warmth throughout the night to ferment the Idly batter. Else it will result in an unhappy marriage between the rice and the urad dhal

I don't know smile
. - We never have used split urad dal (udaitha ulundhu) for making the Idly batter. You can also use Black lentils (Karuppu Ulundhu) instead of white lentils. It gives more volume to the batter while grinding.
- My maternal grandma says, “Maava nalla adichu idly oothu”, i.e. once the batter ferments, beat it nicely and make Idly. Since the Urad dal portions will be raised nicely, the rice portions will be left underneath. So she asks us to beat the batter before making Idly.
- My paternal grandma says, “maava adikaadha, maava adikaadha…”, i.e. once the batter ferments, DO NOT beat the batter. Take a ladle-full of batter just like that and make the Idly. Since the Urad dal portions will be raised nicely, making Idly without beating will give snow-soft Idly. But to me, both were EQUALLY soft and tasty (phew, hope I handled it tactfully. Both the grandmothers should be happy watching me from the skies

Smile
)) - Mom uses sea salt (kal uppu) to mix with the batter.
- If you have leftover sour idli-dosa batter (புளிச்ச இட்லி மாவு) do not throw it. Save it in the refrigerator. Whenever you prepare a new batch of idli-dosa batter add 2-3 tbsp. of it (in step 11.) You can follow this tip if you do not have baking soda handy. This will sure make your idli-dosa batter to ferment easily. Or you can use sour idli-dosai batter when you prepare gothumai dosa (wheat flour dosa).
Back in home, the ratio of measurement used is 1 kaapadi arisi with 1 veesampadi ulundhu. I don’t know the “Cup” conversions of the Tamil measurement of “Padi”. If anybody here knew it, please do the conversions for me. [My imaginary conversion says they should be approximately 3:1 of rice and urad dal with a little more of rice that you can grab in your hand.]
I always relate the making of Idly batter to a Wedding between the Rice and the White lentils. Finding good quality rice and white lentils, washing and soaking them separately before they are ground together, the fenugreek seeds playing the role of the bridesmaids accompanying the bride right from the beginning of the Wedding, then the wedding chaos – grinding the Rice and the white lentils, and then the wedding games to make the pair feel comfortable – mixing both the batter thoroughly together with salt, finally the bridesmaids pushing the bride into the most awaited special night of the couple – fermenting of the batter in a nice warm place. Then what happens the next morning? The bride wakes up like a beautiful fresh bloomed flower with her glowing face brimming with shyness and joy Flirt female![]()
_[Click image to enlarge]
_
Annoyed Eye rolling smile Thinking smile Hot smile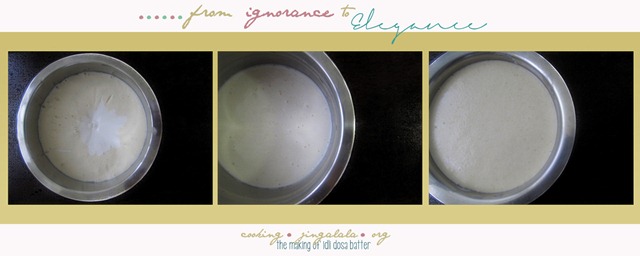 Fine, even after this long stretch of writing about the Wedding between the Rice and the white lentils, what if this turned out to be an unhappy marriage
![]()
![]()
![]()
![]()
Or you can try this new experiment of mine… Fermenting Idli-Thosai Batter without using oven or baking soda during snow/winter/cold season.
Idly Batter | Iddili Maavu
- PREP TIME: 22 h
- COOK TIME: 0 min
- TOTAL TIME: 22 h
- YIELD: 32 Idlis
- DIFFICULTY: easy
- RECIPE TYPE: Batter to make Crepes and rice-lentil cakes – Main Dish
Ingredients:
- Idly rice (Idly pulungal arisi) – 3 cups
- Urad dhal (Uluthamparuppu) / (white lentils or black lentils) – 1 ¼ to 1 ½ cups [Since I’m grinding in mixie/blender I use ½ cup urad dal for every 1 cup idli rice]
- Fenugreek seeds (Vendhayam) – ½ tsp.
- Water – for soaking and grinding
- Salt – 4 tsp.
Mangala from Cooking.Jingalala.Org Eat Well !
