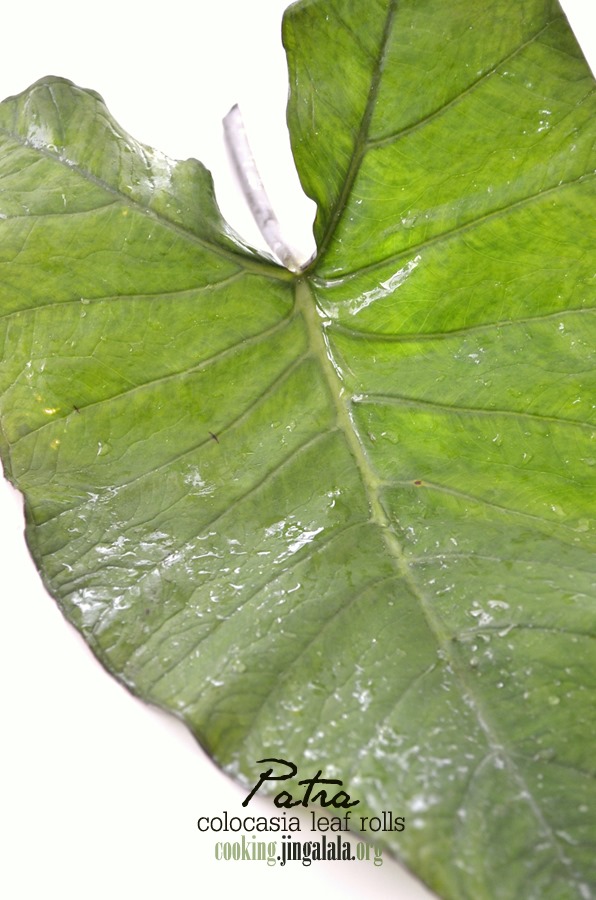
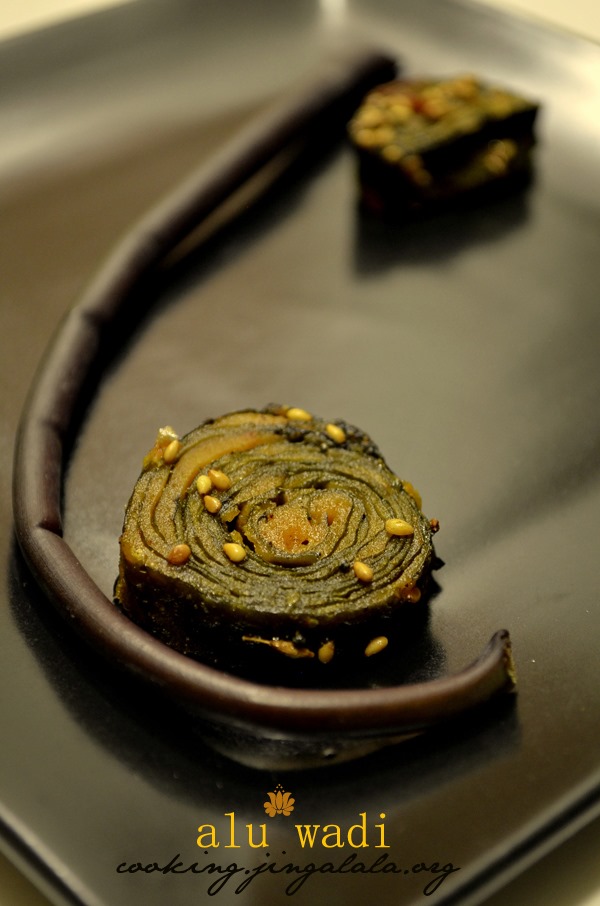
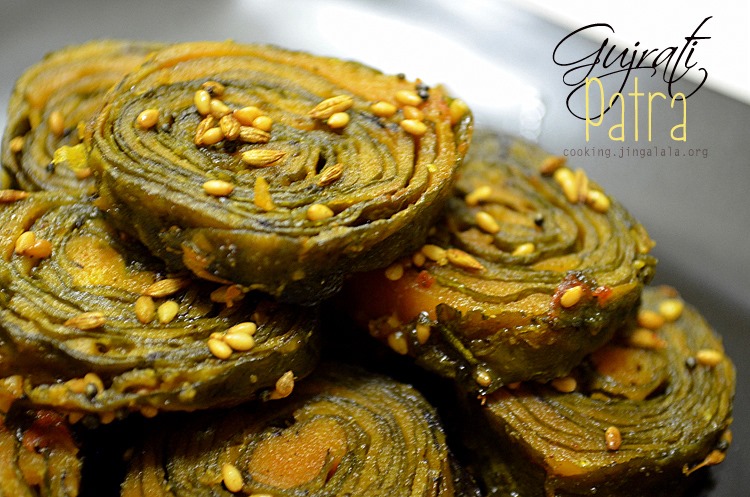
Patra – An interesting savory snack from the state of Gujrat, India! Interesting, because, I experienced a complete medley of tastes from this snack. It has got a mixture of performance from the tangy tamarind, spicy chili, sharp ginger and sweet jaggery in it. Altogether, the taste is jumbled, but yeah it’s NICE!
I will have to write about my friends Megha, Shruti and Priya before I write about the Patra recipe. My first experience with Patra was at Megha’s house. She is a Gujarathi who was brought up in Andhra. She makes awesome laddus with wheat flour, kous kous and lots of ghee Smile![]()
The moment I saw the Patras, I was skeptical if it would really taste good. It had a heavy tempering of curry leaves, mustard seeds, green chilies and more! Before I was convinced to take the snack, Megha stacked several Patras in a plate and served me. I got the plate of Patras with a nice Colgate smile Open-mouthed smile Shifty Flirt male Nyah-Nyah![]()
![]()
![]()
![]()
Then one of our friends Shruthi joined the pooja. She is from Karnataka. And when she was served with hot Patras, she too was excited. She said they used to make these Patras at home by soaking rice grains and chana dal. Then Meg and Shru got into the small talk about this wonderful snack. They talked about the differences in the ingredients and in the process of making Patra in Gujarat and Mangalore. Then Megha extended the topic to talk about the Gongura leaves (pulicha keerai) too. She told us about the recipes which can be made using Gongura leaves, like, Gongura dal fry, gongura chutney, gongura in curries etc. The visit went like that…. discussing foods, recipes, ghee laddus, krishnajayanthi, kids and so on .
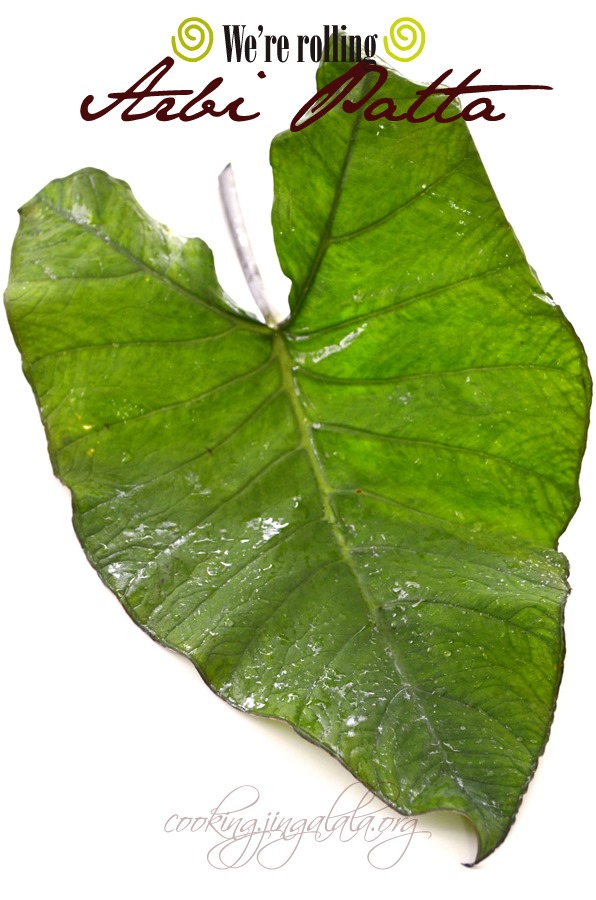
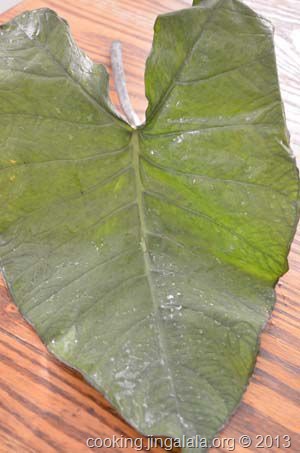
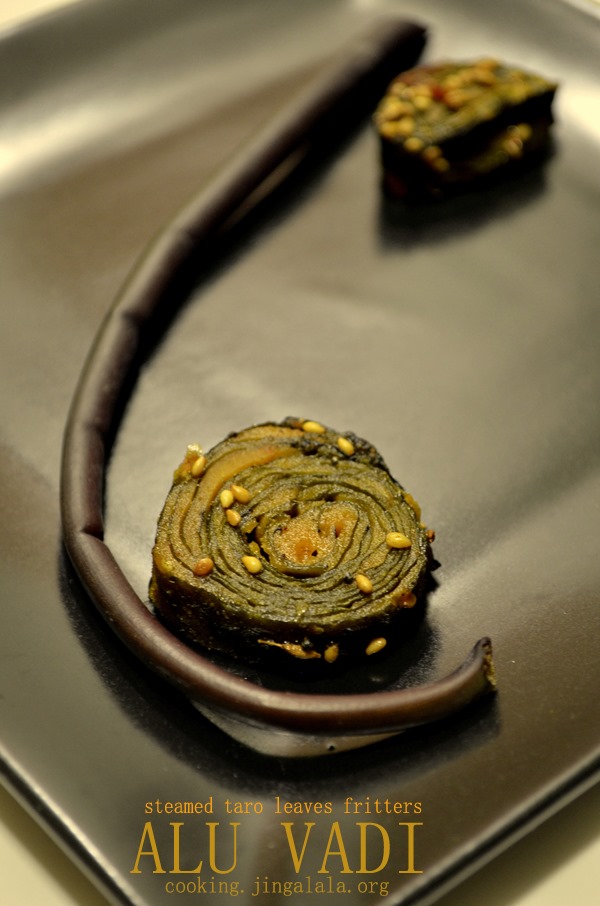
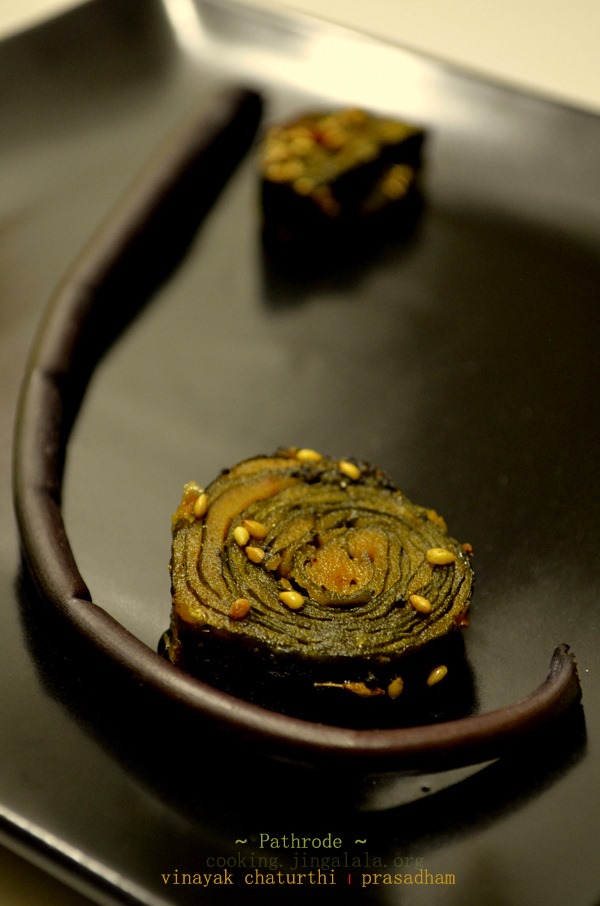
Hey, is this leaf not looking like Lord Vinayaga with his big ears and long trunk? No? Fine, is it at least looking like elephant ears? It occurs to me Nerd smile![]()
I got this recipe for making Patra from one of my friends, Priya. She’s from Srirangam but lived in Gujarat for several years. I’m currently torturing her to send me the recipes of matar malai, kadhai paneer, tiramisu, thin crust samosa and all roti recipes Open-mouthed smile![]()
How to make Patra/Pathrado/Aluvadi – Gujrathi style – With Step by Step pictures
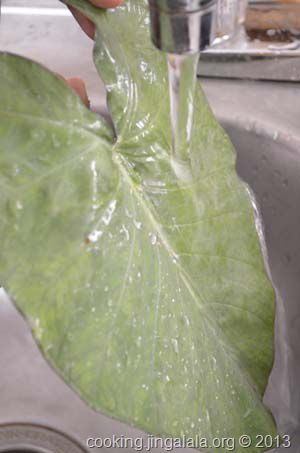
Step 1. Now wash the taro leaves (patra) both sides. [Uh oh, don’t scrub too much only to see the leaves tearing apart Baring teeth smile![]()
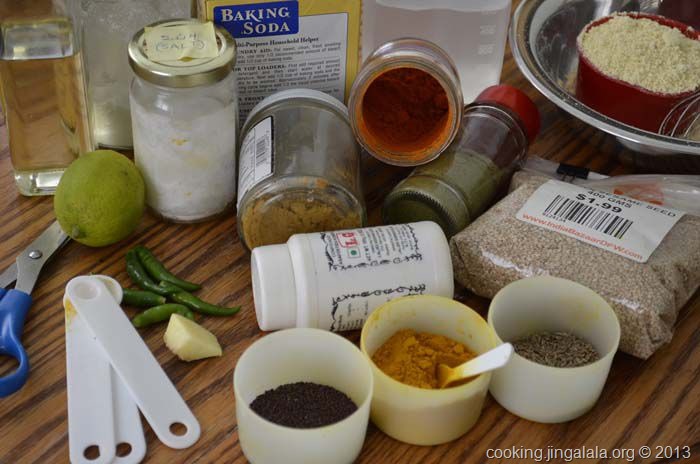
Step 2. Set all the ingredients required to make Patra ready on the kitchen table.
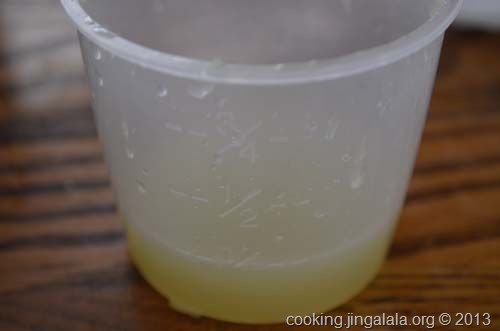
Step 3. Wash and cut the lime/lemon. Squeeze out the juice. Discard seeds, if any. I got 1/4 cup of juice from the lime. Keep aside.
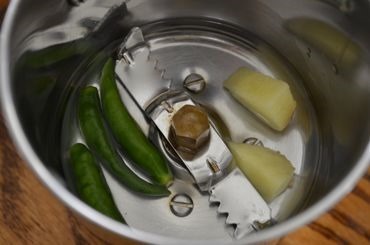
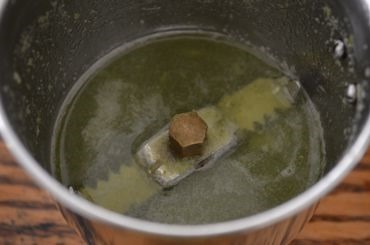
Step 4. Wash and remove the stalk from green chilies. Wash, scrap and cut the ginger. In a blender, pop in the ginger, green chilies and little water. Blend them to a paste. Keep aside.
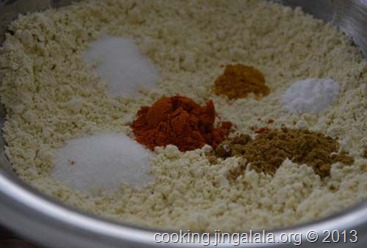
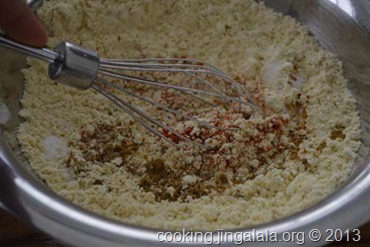
Step 5. In a bowl, add chickpea flour (besan), salt, chili powder, coriander powder (dhaniya), turmeric powder, sugar and baking soda. Give a stir.
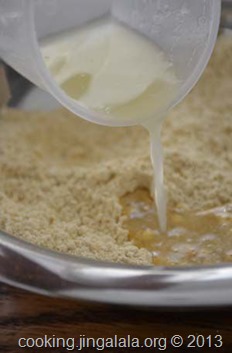
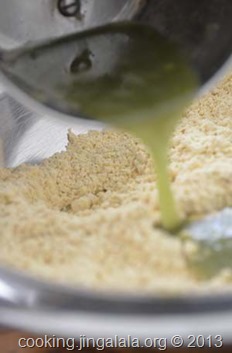
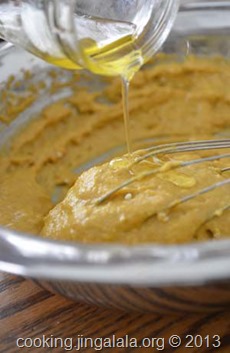
Step 6. Now add the fresh lemon/lime juice and the ground green chili-ginger mixture. Mix. Add oil. Mix.
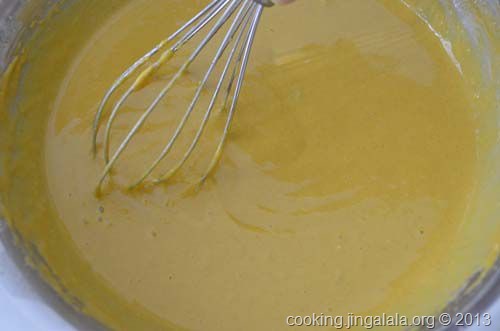
Step 7. Stir them to form a nice thick batter (bhajji/idli batter consistency/pan cake batter consistency). If the moisture in the chili-ginge rpaste and lime/lemon is not enough to form batter, you may add little water. Check the taste of the batter. The batter should have a good balance of sourness, sweetness, saltiness, and spiciness. So adjust the ingredients (lime/lemon juice, sugar, salt, chili powder, dhaniya powder) as needed. Keep aside.
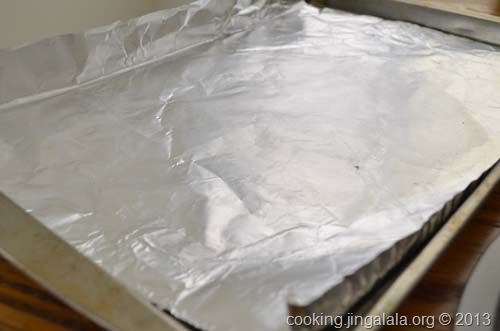
Step 8. Set up a work area. If your kitchen table is neat and tidy, you’re good to go. I have my kitchen table always cluttered. So I used my cookie sheet as my work area.
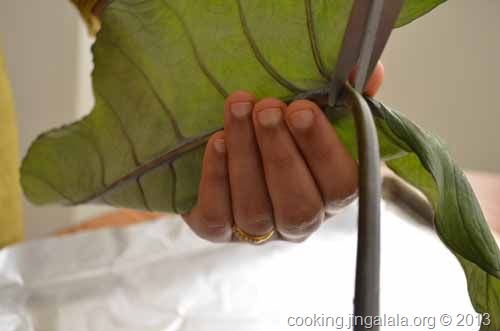
Step 9. Now let us ready the colocasia leaves. Take the taro leaves that were left to dry. Use a pair of scissors to cut the stalk.
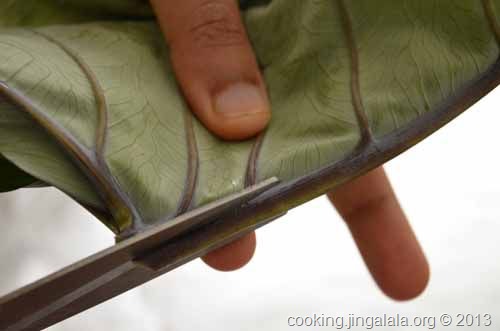
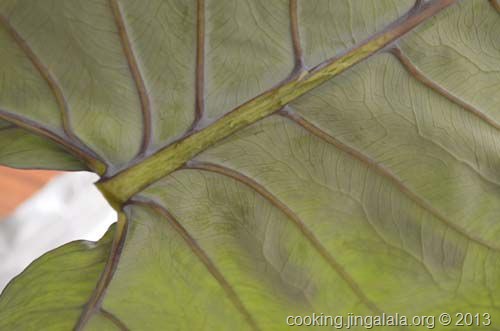
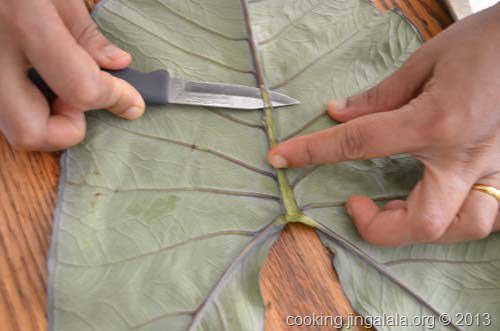
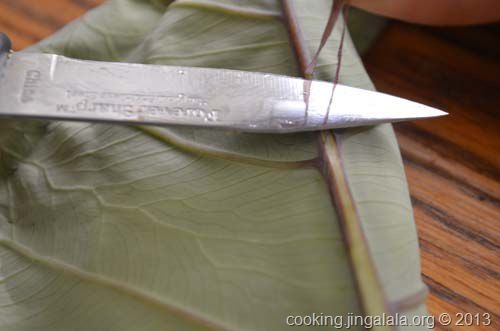
Step 10. We wanted the leaf to lay flat. We also want to roll the leaves easily. So for that, we should cut the leaf’s vertebra (the central thick vein), carefully, not cutting/tearing the leaf.
Step 11. See like this. [however if you went cutting like a crazy and happen to cut/tear the leaves, don’t worry. Work carefully with other leaves and we’ll keep the torn ones over the neat ones.]
Step 12. I went crazy with cutting too Nerd smile Just kidding![]()
![]()
Step 13. Like that… without hurting the leaf. Repeat Steps 9-12 for the remaining leaves.
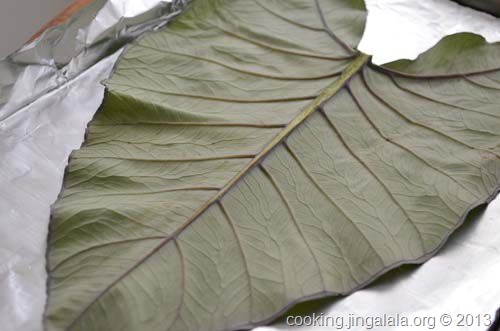
Step 14. Let’s now start layering. The base of the Patra must be the largest leaf. So before you start, sort the leaves according to their height/size, in descending order. Place the ventral side of the leaf facing you and the dorsal side facing down [hee hee hee, I’m a botany student at school. Forgive my botanical terms] i.e. Place the side of the leaf that has thick veins facing you.
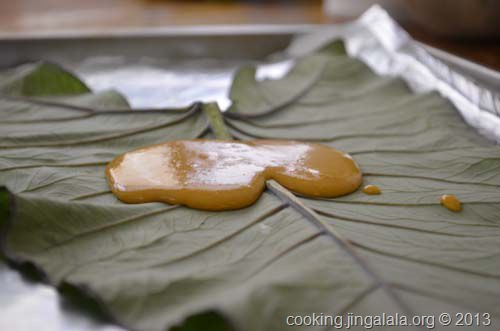
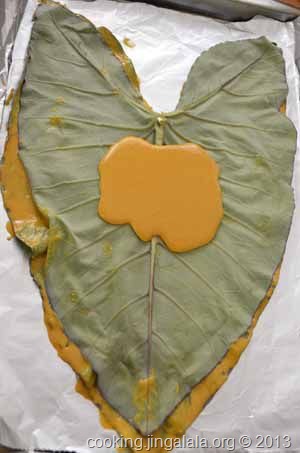
Step 15. Take the batter and give a good stir once more. Pour a spoonful of the batter over the leaf. [oopsy… I see my batter is little thin Embarrassed smile![]()
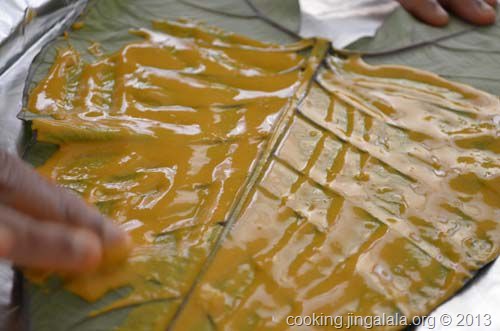
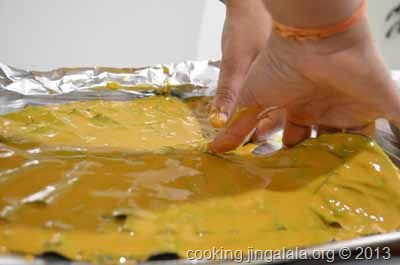
Step 16. Start applying the batter over the leaf. Don’t mind of the messy hands, just SMEAR.
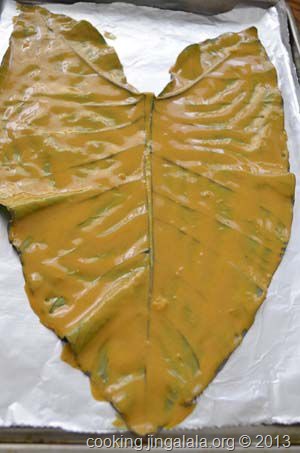
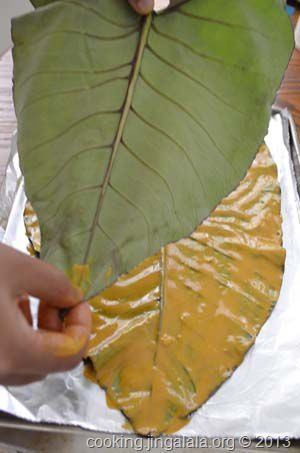
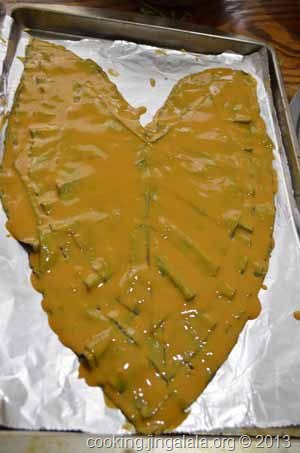
Step 17. Super! Our base leaf is now ready. Take the next largest leaf and align it over the base leaf. Remember, here again ventral side facing you.
Step 18. Blob more batter on the new layer and smear. Layer-Blob-Smear, Layer-Blob-Smear, Layer-Blob-Smear, Layer-Blob-Smear. Do this for all the leaves. But I would suggest you to go with 5 leaves per roll. I used 4 leaves to make one roll. You see how I layered all the leaves with perfect indentations Hot smile![]()
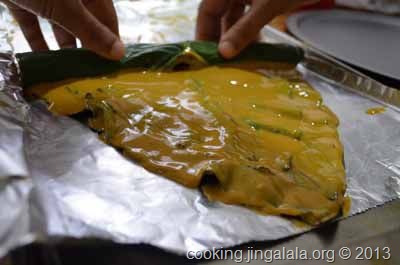
Step 19. Let’s now roll Patra Smile![]()
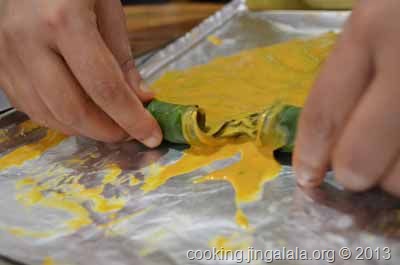
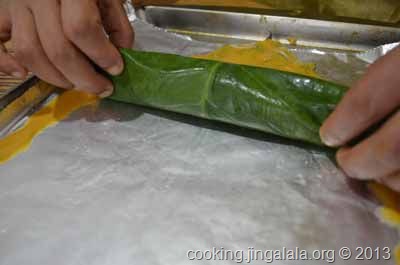
Step 20. Roll them tightly so that the Patras will hold together even after steaming and shallow frying.
Step 21. If you’re hands and fingers are getting messy, don’t care. Complete the rolling. TIGHTLY. [Note: Rolling ‘tightly’ doesn’t mean you’ve to squeeze out all the spiced batter outside the layered leaves. Tightly means, without leaving any space in between the rolling.]
Step 22. Yes, we’re almost there… Roll them completely and set aside.
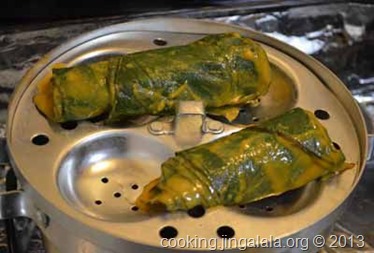
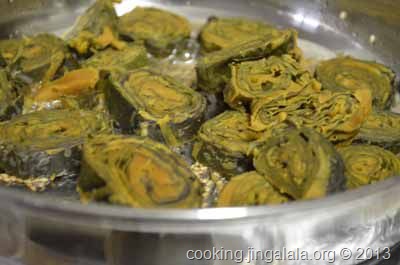
Step 23. [I used my Idli cooker (Idli satti) to steam the patras. If you do not have an Idli cooker, use a wide bowl with dome shaped lid for steaming. Use a perforated plate to place the rolled taro leaves.] Pour 4-5 cups of water in the bowl/idli-cooker and bring it to a nice boil. Place the perforated plate on the vessel of boiling water and keep the rolled Arbi leaves on this plate. [I halved the rolls since they did not fit inside the cooker] Close the lid. Steam the stuffed leaves on MEDIUM flame for 25 minutes. [Remember, there should be enough water inside the pot so that it can steam the Taro leaves uninterrupted for 25-30 minutes]
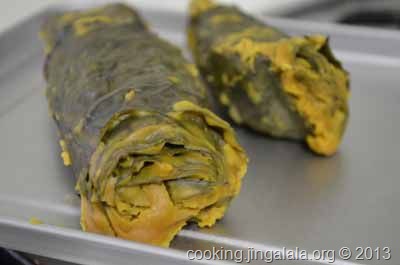
Step 24. After 25 minutes open the lid and check if the leaves are done. If the stuffed batter is not soggy and turned firm, you’re good to go. Switch off flame. Carefully transfer the steamed patras on a plate. Let them rest for 10 minutes, until the steam has escaped and is convenient to handle. [Did I complain that I made the batter to a very thin consistency? But the batter was so forgiving! See how beautifully it has steamed! Nerd smile![]()
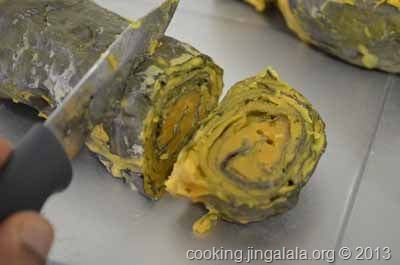
Step 25. Once the taro leaves are not too hot to handle, you can start to slice them. Slice the rolls into 1/2” thick slices.
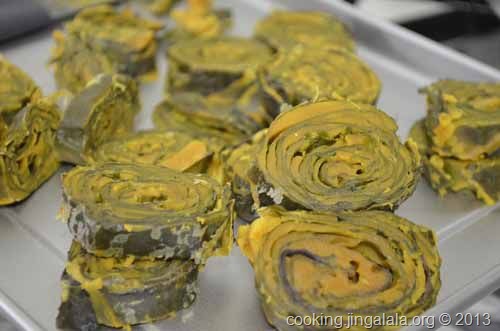
Step 26. Slice all the rolls and keep them ready for tempering. Alu vadas / Patras are almost ready! [You can make the fritters ahead up to this step. Then bring them to room temperature, put them in a closed container and pop them into the refrigerator and temper them the next day or when you need!]
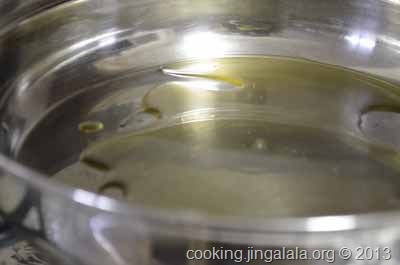
Step 27. For tempering the Alu vadas, keep a dry wide frying pan on stove in MEDIUM flame. Add oil.
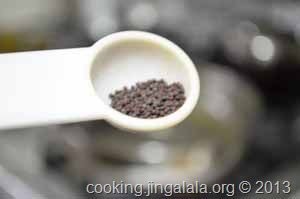
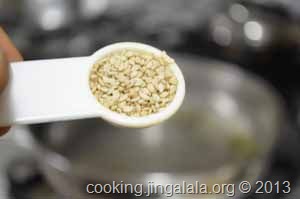
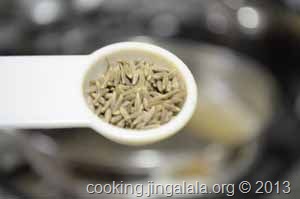
Step 28. Once the oil becomes hot, add the mustard seeds. Let them splutter completely. Then add the sesame seeds. Let them too pop completely. Then add the cumin seeds and asafetida (perunkayam/hing). Add the curry leaves. Let them splutter nicely. [I didn’t have fresh curry leaves. So used my homemade curry leaves powder]
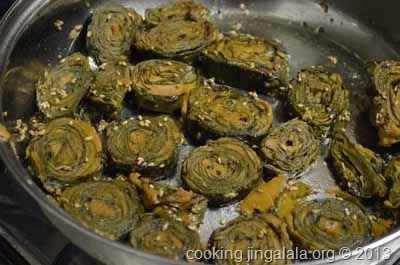
Step 29. Add the sliced vadas into the frying pan. Let them get roasted, say for 3 minutes.
Step 30. Once the patras have fried well on one side, flip them the other side or shake the pan for even roasting. Let them rest and get fried well until crispy, say for another 3 minutes. Switch OFF stove. You may add now a tbsp. of freshly shredded coconut and some freshly chopped cilantro and give a stir to add a final touch to the tempering.
Stack the Patras on a plate and serve them hot. Friends suggested to make some spicy mint chutney or cilantro chutney to serve along with Patra. We enjoyed as is.
3Ts [ Tips | Tricks | Tactics and Secrets ] to make Tasty Gujarati Patra
I planned to make this Patra as narrated by my friend. However when I checked the ingredients of the frozen Patra snacks pack in the Indian stores, it listed tamarind in lieu of lemon/lime juice and jaggery in lieu of sugar. It also listed green chilies and ginger. So I made green chili + ginger paste and added to the patra batter. I would say, the green chilies and ginger really gave a nice sharpness to the taste. Priya also listed ginger garlic paste for making the batter. But I did not add.
They say that the Arvi leaves (taro leaves) have itchy property because of its oxalic acid content. That’s why we should cook/steam them really well and that’s why we make the batter to have a nice sourness by adding tamarind or lime/lemon juice. But I don’t know if it’s only me. I felt as though the Taro leaf itself had a tangy flavor associated with it. Warning: Trying to eat raw or undercooked taro leaves will result in an itchy throat.
IMPORTANT: I also learnt that taro leaves are identical to another non-edible plant called ‘elephant ear plant’ (I think they’re named after the shape of the leaves). These elephant-ears plant leaves are not to be eaten and if you do, you’ll feel like cactus needles pricking in your tongue and throat!

Surprised smile

Disappointed smile

Baring teeth smile
seems like hell no?! So do not pluck leaves from somebody’s garden or rive side thinking they are edible Taro leaves. I got the taro leaves from the Indian grocery stores. You too buy the taro leaves from a reliable fresh produce market. Take care!
I tried my level best to form a Ganesh collage with the Patras Smile with tongue out![]()
After making the Patras, I shared it with my neighbors. Megha liked it. Shruthi too liked it and said they used to deep fry the Patras. When I served the Patras to the husband, like me, he too was skeptical to try my new snack. He had a bite of few Patra pieces and said…’mmm, the subtle sweetness from the chickpeas flour goes very well with the spices added in the batter. The lime juice also complements the taste. Liking it. Approved recipe to post in the blog’. Hmm… I was wondering from where is he learning to give such good explanatory comments!? In love![]()
Stuffed Colocasia Leaves
- PREP TIME: 10 min
- COOK TIME: 30 min
- TOTAL TIME: 40 min
- YIELD: 4
- DIFFICULTY: medium
- RECIPE TYPE: Snack, Prasadham, Pooja gifts
Ingredients:
- 4 Patra (Taro leaves/Arbi Patta/Seppangkizhangu ilai)
- 1 cup Besan (Chickpea flour)
- 1 big Lime/Lemon (or 1/2 cup tamarind extract or 1/2 tbsp tamarind paste), adjust to taste
- 3 Green Chilies
- 1″ fresh Ginger
- ½ tsp Turmeric powder
- 1 tsp Red Chili Powder, adjust to taste
- 1 tsp Coriander powder (Dhaniya powder/Malli thool)
- 1 tbsp Sugar (or jaggery/vellam), adjust to taste
- 1 tsp Salt, adjust to taste
- 1/4 tsp Baking Soda
- 1 tsp Oil
- 1/8 cup Water, as needed to prepare the batter
- *\ To Temper ***
- 1/2 tsp Black Mustard seeds (Kadugu)
- 1 tsp White Sesame seeds (Vella Ellu)
- 1/2 tsp Cumin seeds (Seeragam/Jeera)
- 1/4 tsp Fennel seeds (optional) (Saunf/sombu/perunjeeragam))
- 1/4 tsp Asafetida (Heeng/Perunkayam)
- 3 sprigs of fresh Curry Leaves
- 1 tbsp Oil
My definitions | What is Patra | Patrode - A traditional Gujarati snack made of besan flour stuffed inside Taro leaves (Cheppangkizhangu ilai). It is a kind of steamed vadai (fritters) made out of patra (leaves). Patra is also a favorite savory snack of Maharashtrians and Konkanis. However the ingredients and the name of the snack vary in different regions. Patra is also known by the following names: alu wadi, aaluchi vadi, pathrode, arbi vada, patraveliya etc. You can find Patras in the frozen snacks section in all Indian grocery stores.
Mangala from Cooking.Jingalala.Org Eat Well !
