*Cheppankizhangu varuval | Taro root fry | Arbi roast *
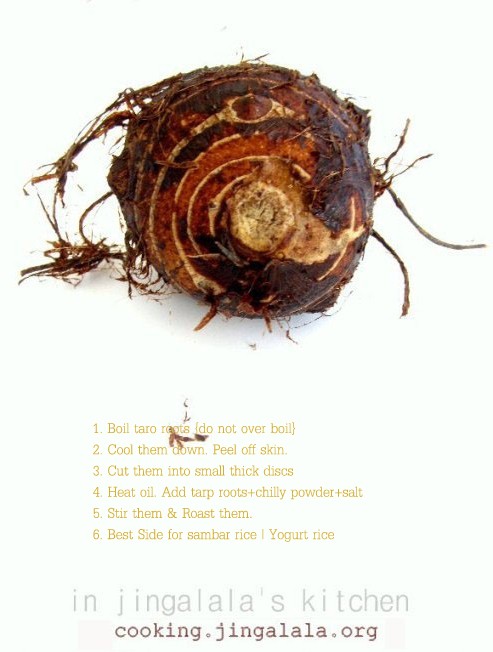
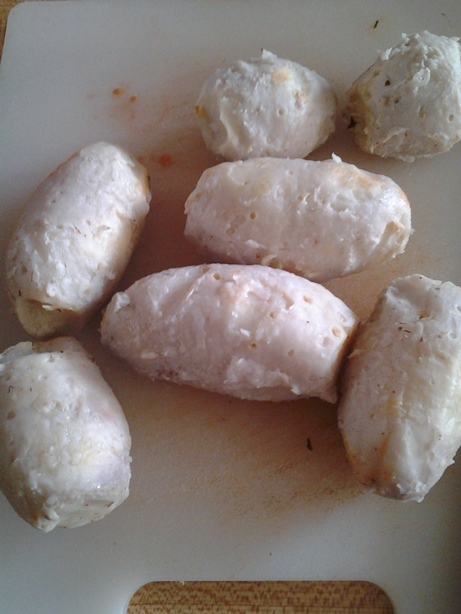
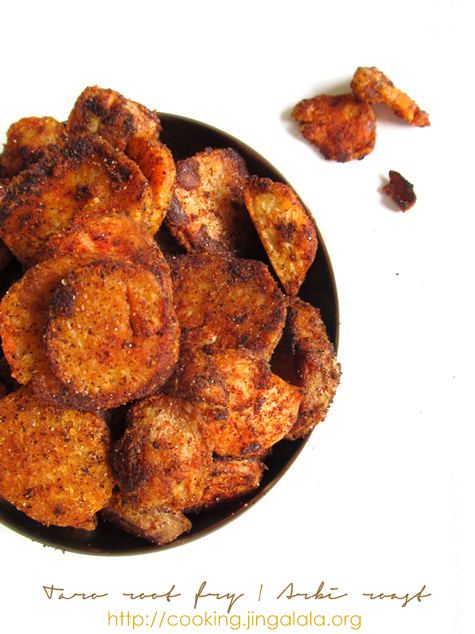
Appearances are often deceptive. The one whom I’ve displayed above, does he look handsome? Not at all, right? But you should scroll a little down and have a look at the finished product :) or you should taste the cooked taro root fry. You will swallow more and more of this cheppankizhangu roast everytime you pass by your kitchen that the pan will be emptied even before you set the dining table for lunch/dinner. Most arbi are oval shaped like miniature rugby balls and some are round shaped. To me the round shaped Cheppangkizhangu (taro root/arbi/colocasia) looks like how our planet earth would have looked when it was very young – a dark solid crust and rocky rustic body. I had a very close-up look at this raw Cheppankilangu and it really looked so.
Actually, this guy, the raw seppankizhangu will look so fresh and attractive especially when he’s washed, exactly like how earth looks fresh and lively with the waters on it! So I washed him before I took him for a photo shoot. While I spent hours of shooting with this taro root I had thoughts like, if only this taro root had a mouth, he would definitely cry: “O please… either cook and gulp me in or better leave me inside your dark wooden cupboards, but not this crazy shootings with me please…O please…..” So after some up-and-down angles, left-and-right angles, north-south-east-west angles, birds-eye-view angle, and all-sort-of-angles, I was happy with the above photograph and decided to start cooking him. :)
Valli kizhangu, Sakkara valli kizhangu, senai kizhangu, urulai kizhangu, panang kizhangu, karunai kizhangu, kappa kizhangu/maravalli kizhangu – sure I missed many other kizhangu varieties; Varieties which we enjoyed for every meal, varieties which nourished our growth and varieties which kept us from the boredom of usual varuval/kurma/pulao/masiyal etc. Mom used to make variations of recipes with these root varieties: poriyal, masiyal/mashed, varuval, chips, boiled, kurma, bajji, gravy, pilaf etc. But, I myself cannot believe that we never cooked taro roots (cheppankilangu) in our kitchen. I first tasted cheppangkizhangu varuval at one of my aunt’s place. Vareh vah! Enna taste-uu :D. Seriously my tongue is salivating the moment I think of those spicy seppankizhangu curry…mmmm…. Love it!
how to make edo fry step by step pictures
How to make taro root fry/arbi roast/cheppangkizhangu varuval - with Step by Step pictures
[Each image can be enlarged when Clicked]
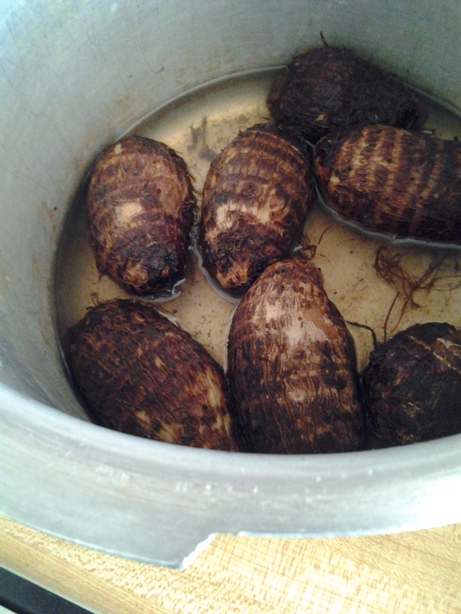
Step 1. Wash the taro roots nicely in water.Add taro roots, little salt and water (just until the level of the taro roots) in a pressure cooker. Place the cooker in high flame in the stove. Wait for one whistle and switch off flame immediately. We need to take care that the taro roots are not over cooked/boiled. So just one whistle will do and wait until the pressure subsides by itself. <roughly 5 minutes to boil and 5 minutes to release the pressure>
Step 2. Open the cooker carefully once the pressure is released. Drain and discard the water. Wait until the taro roots come to room temperature. Or if you could manage to handle them hot, you can start to peel the taro roots. Cut them into small thick discs.
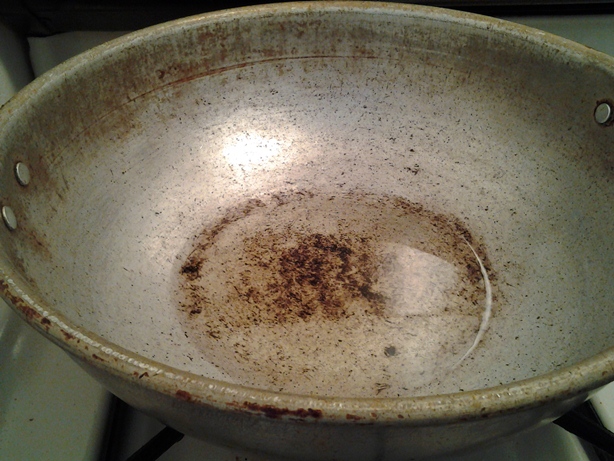
Step 3. Place a dry wok on the stove in high flame. Add oil. When the oil is hot reduce flame to medium.
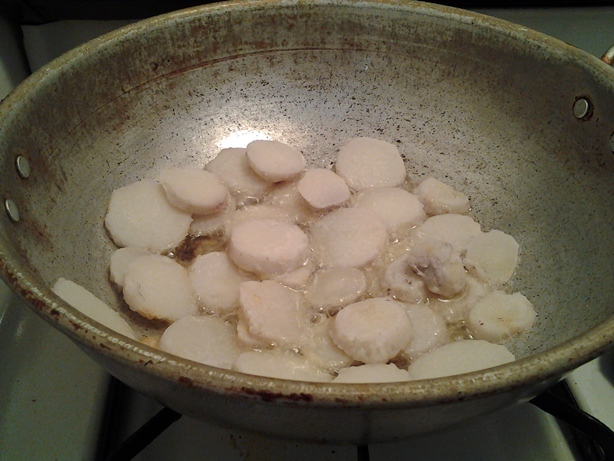
Step 4. Now add the cut taro roots and gently stir so that the oil gets applied to all sides of the taro root discs. Handle them gently if you care to maintain the disc shape of the recipe. Let the taro roots sit in this oil for 3 minutes.
Step 5. After 3 minutes add red chilly powder and salt (remember that we added little salt while boiling the taro roots, so have a check when you add this time). Stir them so that all the discs are coated with this salt and chilly powder. <Oh yes, instead of adding the salt and chilly powder at this stage, you can also mix them right after the taro roots are cut into discs>
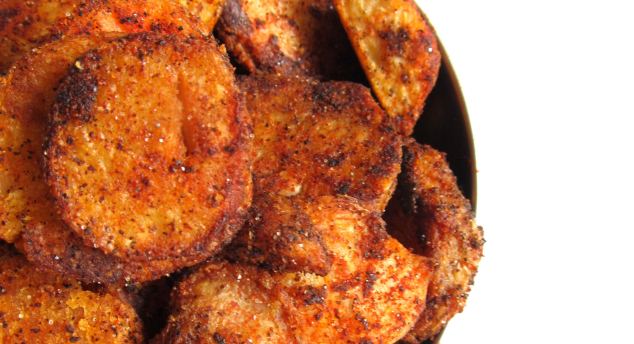
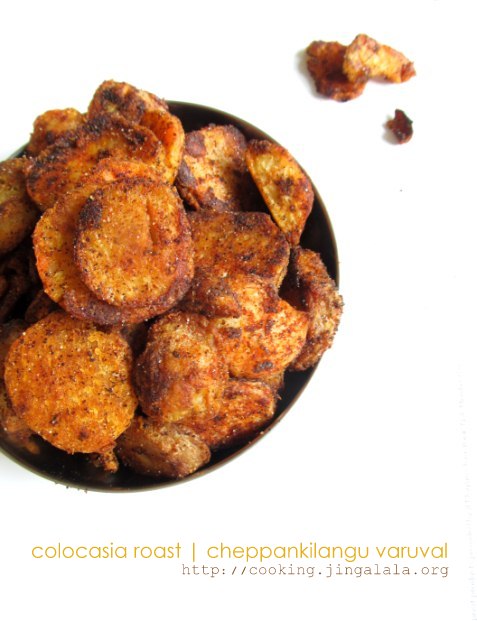
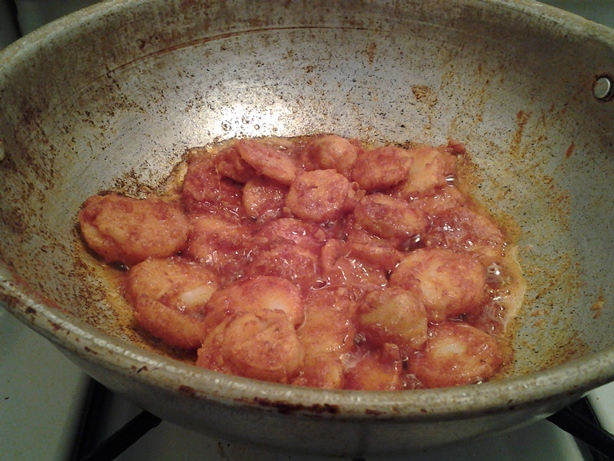
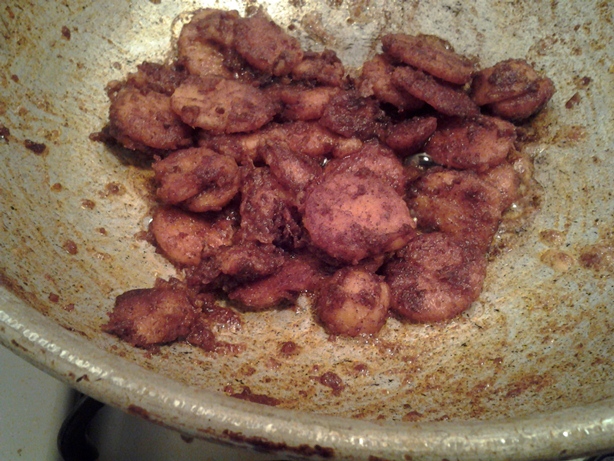
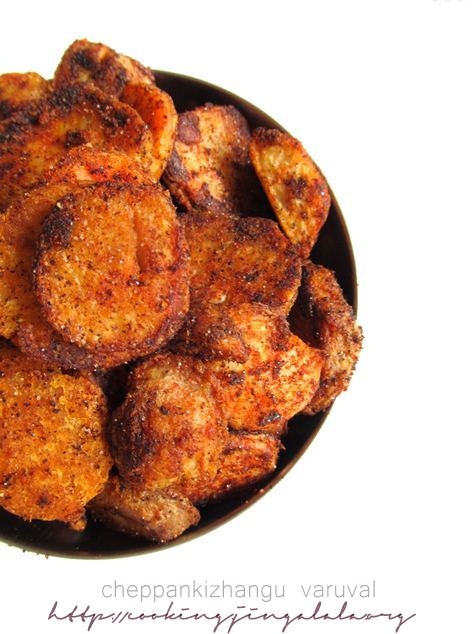
Step 6. Maintain the flame in medium and stir the taro roots occasionally (may be every 7-10 minutes). In about 20-30 minutes, you’ll see the taro roots turning into a beautiful reddish-orange gold coins. It will look as if some historic precious gold coins were dug freshly out from hot black soil :) Yesss, these Cheppankizhangu varuval is a kind of treasure to me, since we’ve actually forgot about this recipe for nearly 15 years! “I just cannot believe this mommyyy…..”
Arbi fry / taro root fry is one among those simple recipes that is really easy to prepare. It needs just 3 ingredients: Seppankizhangu of course, salt, chilly powder and oil. This curry goes well with sambar rice, yogurt/curd rice and dal rice. If you normally consume a plate of sambar rice, with these cheppankizhangu varuval you’ll be driven to eat another extra plate :).
3Ts [ Tips | Tricks | Tactics and Secrets ] for making Seppankilangu/Arbi/Taro root roast
- Ahh I know, the amount of oil used for this taro root roast sickens you right? If you’ve got that problem, then you can use the amount of oil you prefer. More the oil - greater the taste, less the oil - lesser the taste I would say. I’ve tried frying them with just a tablespoon of oil for 6 taro roots in a non-stick pan by taking care that each taro root disc touches the wok and turning each disc every-now-and-then. But I was not satisfied with the taste. May be I did not know how to make it perfectly with less oil in a non-stick tava/wok.
- Take care while buying the colocasia/taro roots. Because when you boil and peel the skin you might see some taro roots spoiled with dark brown color instead of straw color. If you see such taro roots, please do not hesitate to throw them off. If you take this lightly and decide to use it in the fry, then you should bear eating a very bad tasting, bitter, pungent smelling taro root disc fry along with good tasting taro root disc fry.
- Did you happen to read my Finger chips recipe post? In the comment section, one of my friends gave me a wonderful idea of deep frying the taro root after boiling them. I tried this version too once and it bagged more votes than the version I’m featuring in this post. Will soon post deep-fried seppankilangu version too.
- We prefer cheppankizhangu varuval without any tempering added to it. But if you prefer you can temper it with a tsp of mustard, a tsp urad dal, and 7-8 curry leaves in the oil just before adding the taro roots.
Edo Fry | Arbi Roast | Taro root fry
- PREP TIME: 10 min
- COOK TIME: 30 min
- TOTAL TIME: 40 min
- YIELD: 2
- DIFFICULTY: easy
- RECIPE TYPE: Side dish for Rice
Ingredients:
- Cheppankilangu/Taro root – 7
- Red Chilly powder – 2 tbsp
- Salt – 1 ½ tsp
- Oil – 3 tbsp
- Water – For boiling the taro root
Mangala from Cooking.Jingalala.Org Eat Well!
