When my siblings and I used to be younger,Amma makes Biryani very rarely. When it comes to making biriyani at home, the whole family gets together in the kitchen, everybody pretending to help mom ![]() . Mom starts by dictating a big list of ingredients, while the sister writes them on a lonngggg sheet of paper. When the father makes a big fuss in going to the market or the stores on other days, he gets ready almost immediately on this particular day knowing the menu. He kick starts his bike, waiting for the complete list and the market bag. He then returns with at least half the market stuffed into a sack bag, buying all and other items that were not in the list too! Mutton, Chicken, Biryani rice, Onions, Tomatoes, Chilies, Cashews, Coconuts, Banana Leaves, Mint leaves, Coriander leaves, Chicken-65 masala, ice creams, betal leaves etc etc and etcetera. My work will be to extract the milk from the coconut…..isk-isk…isk-iskk….squeezing out the freshly ground coconut milk from the cloth strainer as if I’m milking some cow
. Mom starts by dictating a big list of ingredients, while the sister writes them on a lonngggg sheet of paper. When the father makes a big fuss in going to the market or the stores on other days, he gets ready almost immediately on this particular day knowing the menu. He kick starts his bike, waiting for the complete list and the market bag. He then returns with at least half the market stuffed into a sack bag, buying all and other items that were not in the list too! Mutton, Chicken, Biryani rice, Onions, Tomatoes, Chilies, Cashews, Coconuts, Banana Leaves, Mint leaves, Coriander leaves, Chicken-65 masala, ice creams, betal leaves etc etc and etcetera. My work will be to extract the milk from the coconut…..isk-isk…isk-iskk….squeezing out the freshly ground coconut milk from the cloth strainer as if I’m milking some cow![]() . Those days, the only kitchen work done perfectly my sister is, cutting onions
. Those days, the only kitchen work done perfectly my sister is, cutting onions ![]() . So she cuts and sets the onion raita ready. While mom will be busy making the special meal, dad will be busy reading the newspaper so seriously as if he had to write an exam in next few minutes
. So she cuts and sets the onion raita ready. While mom will be busy making the special meal, dad will be busy reading the newspaper so seriously as if he had to write an exam in next few minutes ![]() . The two younger ones, the brother and sister will be busy fighting for the TV remote
. The two younger ones, the brother and sister will be busy fighting for the TV remote ![]() . By the time the hot hot Mutton Dum Biryani, Mutton gravy and Chicken-65 gets ready, it’ll be around 2 pm, which by then, the two little devils will get tired of fighting and will come to terms to watch one TV channel and dad will fall asleep over the newspaper
. By the time the hot hot Mutton Dum Biryani, Mutton gravy and Chicken-65 gets ready, it’ll be around 2 pm, which by then, the two little devils will get tired of fighting and will come to terms to watch one TV channel and dad will fall asleep over the newspaper ![]() . But then, when their nostrils sniff the approaching aroma of the flavorful Biryani, everybody automatically comes and sits for the lunch. So that’s how our Biriyaani weekend goes
. But then, when their nostrils sniff the approaching aroma of the flavorful Biryani, everybody automatically comes and sits for the lunch. So that’s how our Biriyaani weekend goes ![]() .
.
Jeeva is a big BIG fan of my mother’s Biryani. When he saw me composing this Chicken Biryani post, he asked_, ‘why put this Biriyaani recipe? Put your mom’s biriani recipe. Only that’ll become a super hit’. Ah… I know ![]() . But I’m just impotent to bring out the exact taste as in my mother’s **_Biryani recipe
. But I’m just impotent to bring out the exact taste as in my mother’s **_Biryani recipe ![]() ** ! I tried my level best in copying her biryaani recipe in my kitchen. Every time I make, something or other goes wrong. So I finally gave up and reserved the post from publishing until I myself see her make Briyani when I go to India during the vacations. The characteristics of my amma’s biryani are: She makes biriyaani using Seeraga samba rice (jeeraga samba rice, called ’Biriyani rice’ in Tamilnadu. It’s a special kind of rice that is short in size but has a beautiful aroma associated with it.) She uses freshly extracted coconut milk. She puts the biryani in dum. When she makes beriani, we can’t wait to do the taste checking. We start to do the taste checking even before the rice gets cooked. She normally pairs Biryani with Ezhumbu Kuzhambu (Gravy with goat meat and bones) or Kurma, chicken-65 and thayir vengayam (onion pachadi/onion raita).
** ! I tried my level best in copying her biryaani recipe in my kitchen. Every time I make, something or other goes wrong. So I finally gave up and reserved the post from publishing until I myself see her make Briyani when I go to India during the vacations. The characteristics of my amma’s biryani are: She makes biriyaani using Seeraga samba rice (jeeraga samba rice, called ’Biriyani rice’ in Tamilnadu. It’s a special kind of rice that is short in size but has a beautiful aroma associated with it.) She uses freshly extracted coconut milk. She puts the biryani in dum. When she makes beriani, we can’t wait to do the taste checking. We start to do the taste checking even before the rice gets cooked. She normally pairs Biryani with Ezhumbu Kuzhambu (Gravy with goat meat and bones) or Kurma, chicken-65 and thayir vengayam (onion pachadi/onion raita).
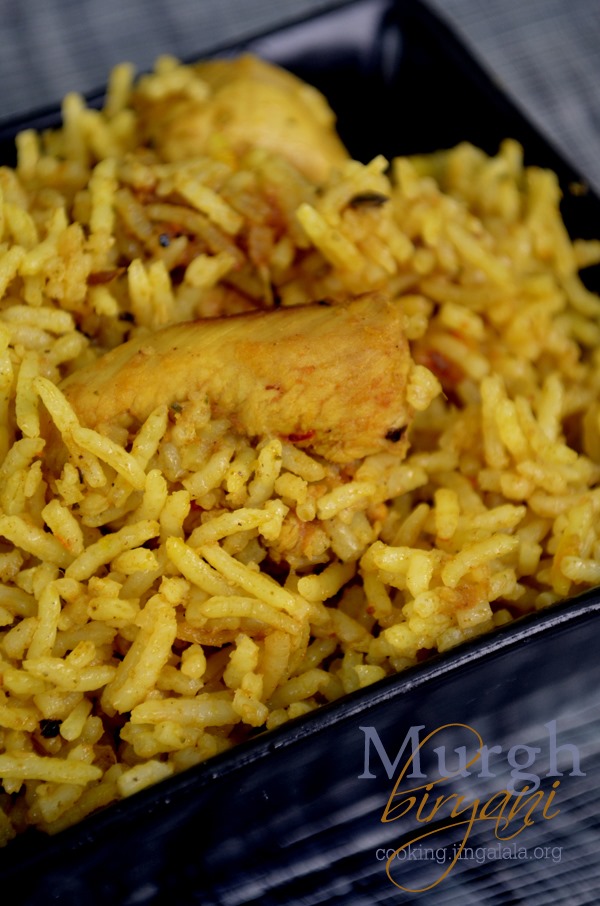
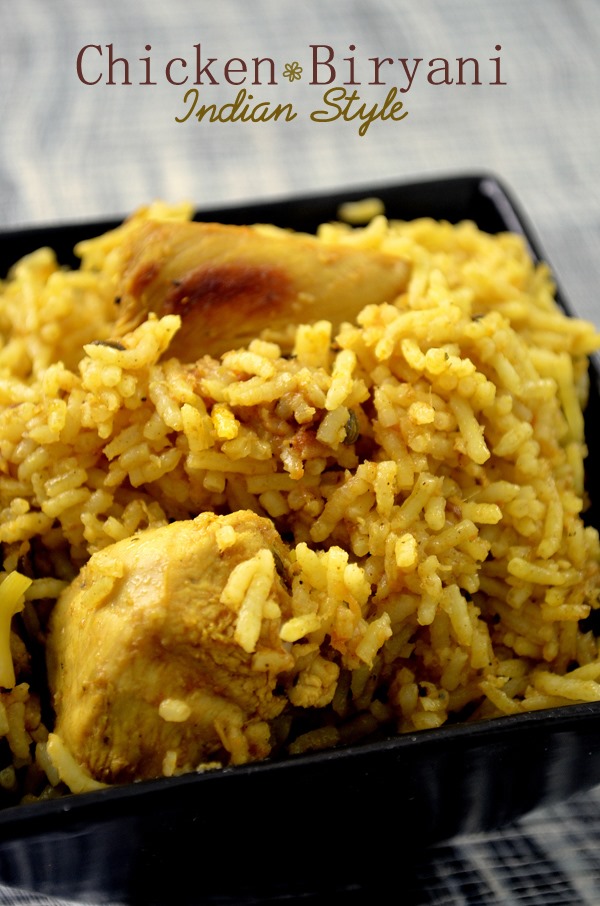
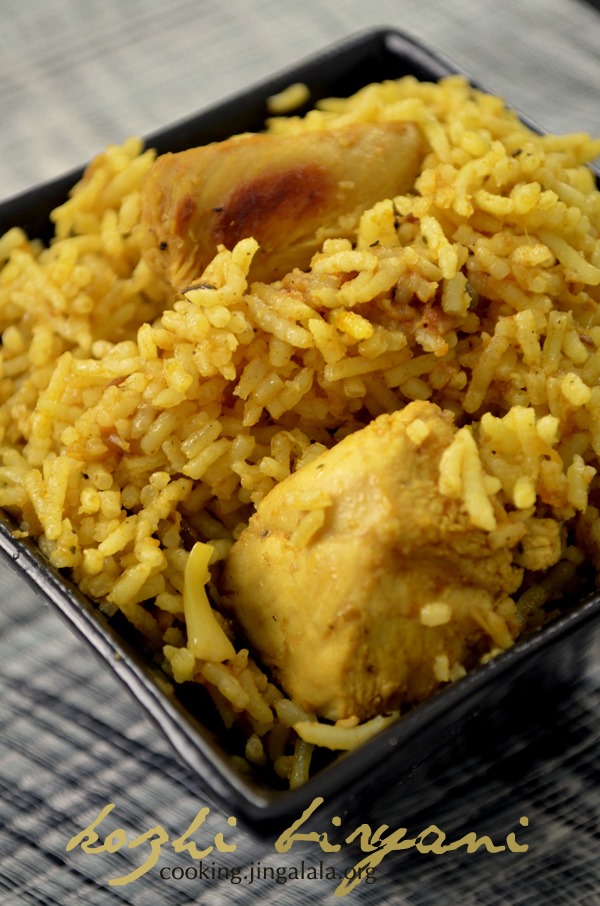
Though I chose to postpone the posting of my mother’s_ Biriyani recipe_, I can’t wait for the vacation just to post a Biryani recipe in my blog. So I decided to release this post from my folders. You won’t know how many methods of preparing a biryani and how many recipes of biryani I’ve tried in my kitchen![]() ! Lots of Biriyani recipes…. lots of cooking methods and techniques….some from TV shows, some from cookery blogs, some from the cuttings of old Tamil newspaper, and some from friends and so on. Though each of these tried biryani recipes were not bad, I liked this particular Chicken Biryani recipe for, it was so very simple to make and yet had great flavor and taste! I happened to see this Briyaani recipe from a cookery show. I will list you the points which made me try this Chicken Briyani recipe. It had the minimum number of ingredients compared to the other Biriani recipes. It required no grinding of ingredients. It required no pudhina or cilantro or green chilies! Is it not sounding simple already? So, come, check how to make this Simple Chicken Biryani Recipe (without using a pressure cooker).
! Lots of Biriyani recipes…. lots of cooking methods and techniques….some from TV shows, some from cookery blogs, some from the cuttings of old Tamil newspaper, and some from friends and so on. Though each of these tried biryani recipes were not bad, I liked this particular Chicken Biryani recipe for, it was so very simple to make and yet had great flavor and taste! I happened to see this Briyaani recipe from a cookery show. I will list you the points which made me try this Chicken Briyani recipe. It had the minimum number of ingredients compared to the other Biriani recipes. It required no grinding of ingredients. It required no pudhina or cilantro or green chilies! Is it not sounding simple already? So, come, check how to make this Simple Chicken Biryani Recipe (without using a pressure cooker).

How to make Chicken Biriyani (Murgh Biriani/Kozhi Biriyaani) Recipe – with Step by Step pictures [Each image can be Enlarged if CLICKED.]
Preparation of Basmati Rice for Biriyani
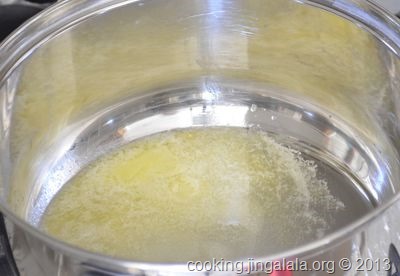
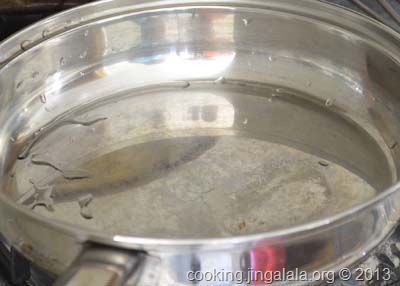
Step 1. Keep a dry wide pan on stove over Medium flame. Add ghee (clarified butter). Take care not to burn the ghee. That’s why you’ve to set all the ingredients required ready on the kitchen table so that you can add them immediately rather search for the ingredients. Wash, scrap, cut and grate/mince the ginger. Rinse basmati rice at least twice. Drain the water thoroughly. Set aside. [I use homemade ghee. If you have butter, add 3 tbsp. and wait until it browns.]. In another burner, warm up 4 cups of water in Medium flame. Meanwhile we’ll proceed with these steps.
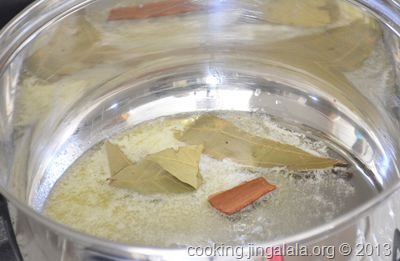
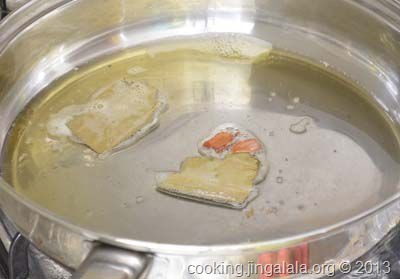
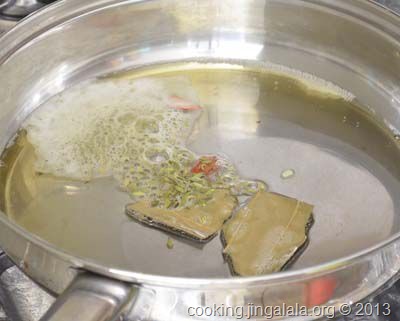
Step 2. When the ghee gets heated, add the bay leaves (biryani leaf) and cinnamon stick. Let the spices bulge. Take care not to burn. Once the spices bulge add the curry leaves. Careful they’ll splutter.
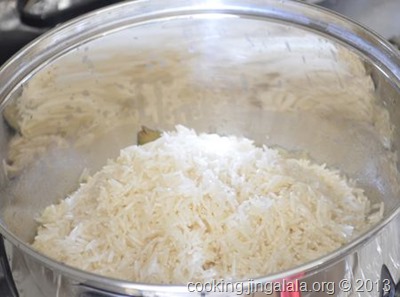
Step 3. Add the washed and drained basmati rice.
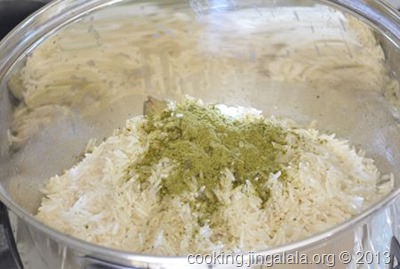
Step 4. I did not have curry leaves. So I used my homemade curry leaf powder. If you’ve added curry leaves in the above step, please ignore this step.
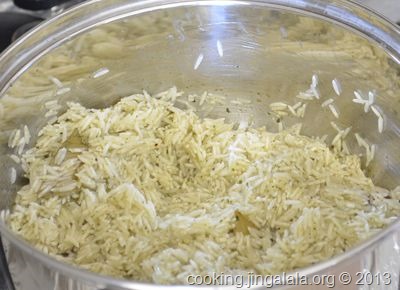
Step 5. Fry the rice, for say 2 minutes.
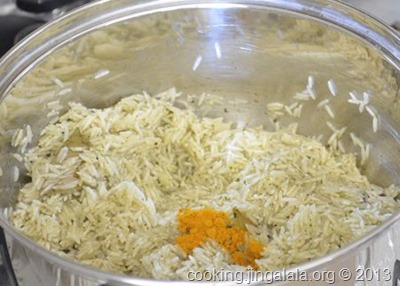
Step 6. Now add the turmeric powder. Mix well.
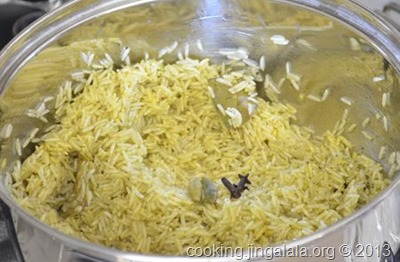
Step 7. Add the cloves and cardamom. [You can use cardamom powder too instead of whole cardamom. Use about 1/4 tsp.]
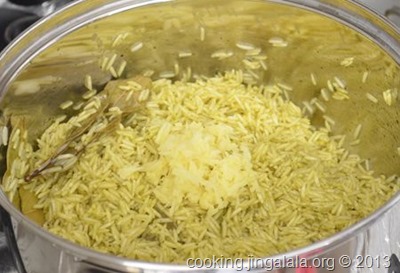
Step 8. Add the minced ginger. I grated it finely with my grater. Mix them all.
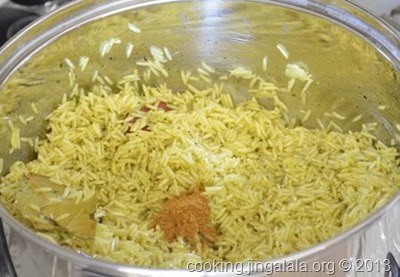
Step 9. Add the curry masala powder [or garam masala powder, whichever you have. I use Aachi Curry Masal Powder]. Mix.
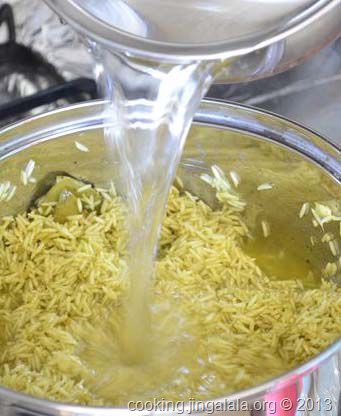
Step 10. Now take the hot water and add it to the rice. Add salt.
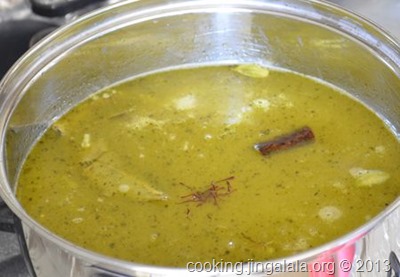
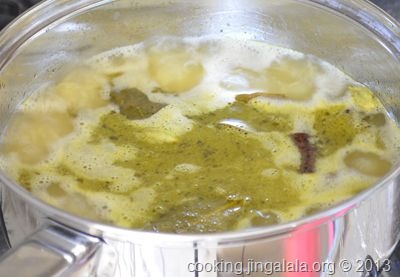
Step 11. Add the saffron threads (kunkumapoo). I used pure spanish saffron threads. Mix. Set flame to HIGH. Wait until the rice begins to boil.
Step 12. In 5 minutes, the water begins to boil. Turn flame to LOW (Simmer).
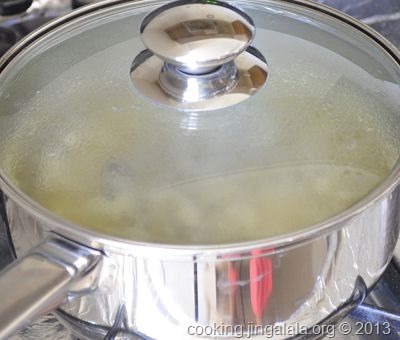
Step 13. Close the pan with a heavy lid. Avoid opening the lid while the rice is getting cooked.
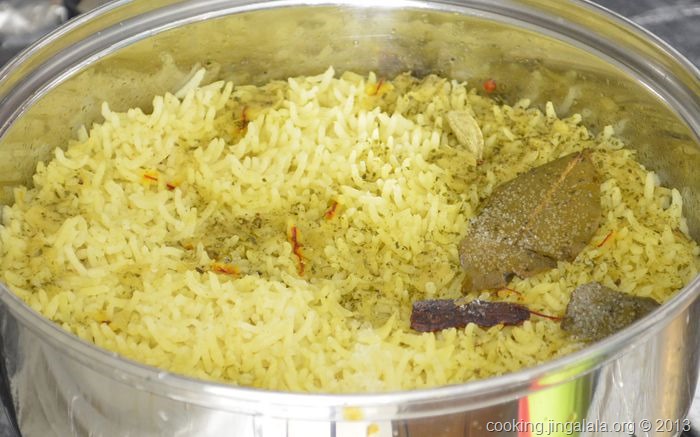
Step 14. In EXACTLY 20 minutes open the lid. You’ll see the rice beautifully cooked! Switch OFF stove. Close the pan and set it aside. We’ll now make the Chicken masala ready to mix with the biryani rice.
Preparation of Chicken Masala for Biriyani
Step 1. Set all the ingredients required to make the biriyani masala ready on the kitchen table. This is because, spices must be added almost immediately one after another. Keep the spice powders ready too. Peel, wash and finely chop the onions. Wash, chop and blend the tomatoes [need not add any water for blending]. Wash, scrap, cut and mince/grate the ginger. Peel, wash and cut the garlic cloves. Clean the chicken, wash and drain them. Keep aside. Keep a wide pan on stove in Medium heat.
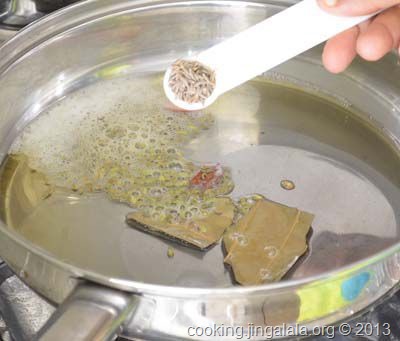
Step 2. Once the pan is heated add oil. When the oil is hot, add the bay leaves (biriyaani ilai) and cinnamon stick. Allow them to bulge. Take care not to burn.
Step 3. Add the fennel seeds.
Step 4. When the fennel seeds begin to brown, add the cumin seeds. Take care not to burn the cumin seeds. Burning the spices will make them bitter. Allow the cumin seeds to splutter, 3-4 seconds.
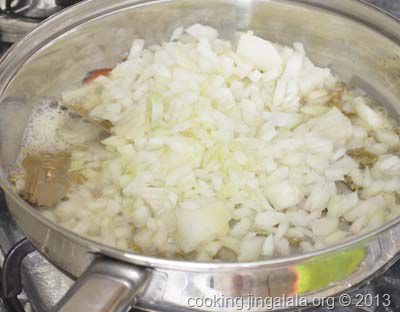
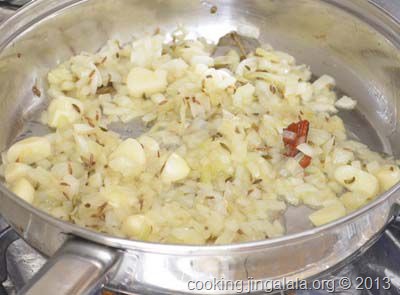
Step 5. Add the chopped onions.
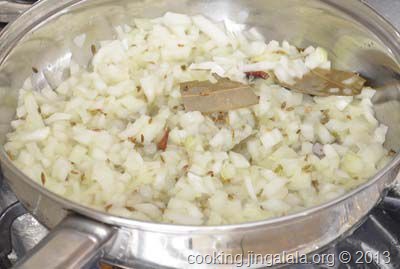
Step 6. Sauté the onions. Allow them to sweat, for say 7-8 minutes.
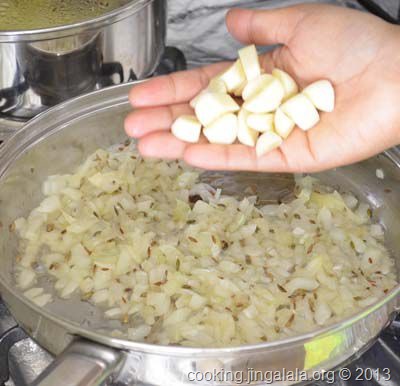
Step 7. Once the onions sweat and begins to brown, add the garlic cloves. Mix.
Step 8. Sauté the garlic cloves for 2 minutes.
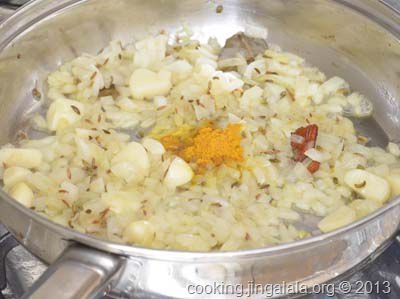
Step 9. Add the turmeric powder. Mix.
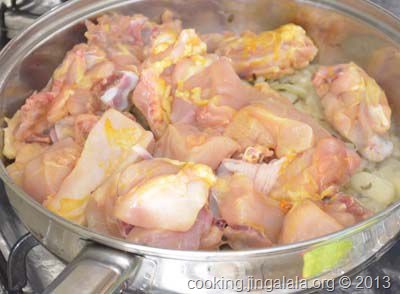
Step 10. Add the chicken pieces.
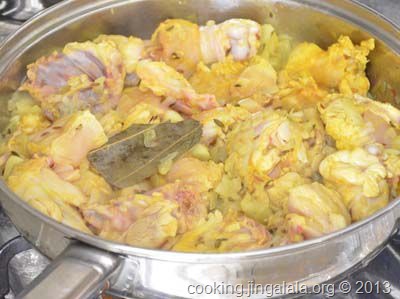
Step 11. Mix the chicken well so that all the pieces gets coated with turmeric..
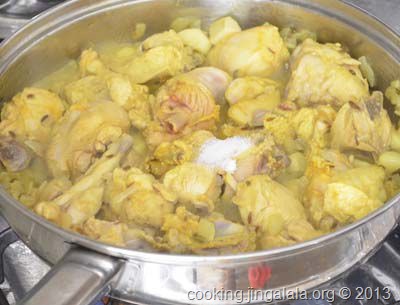
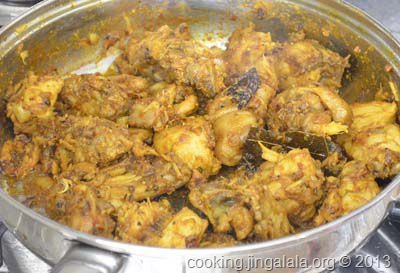
Step 12. Add salt. Mix and sauté the chicken. In few minutes you’ll see the juices coming from the chicken. The chicken pieces will almost be cooked in its own juice by the time we add and mix all the ingredients in the up coming steps..
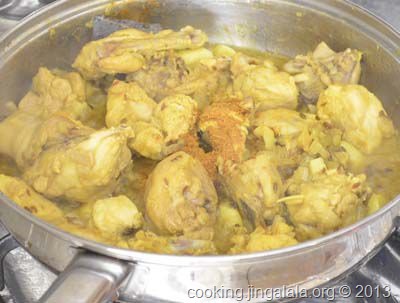
Step 13. Add garam masala [I used Aachi Curry Masala Powder]. Mix.
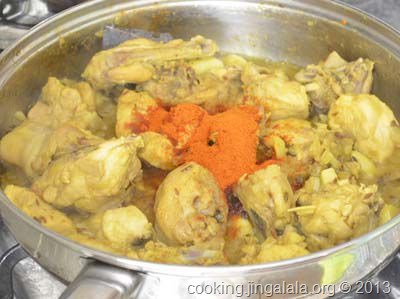
Step 14. Add red chili powder.
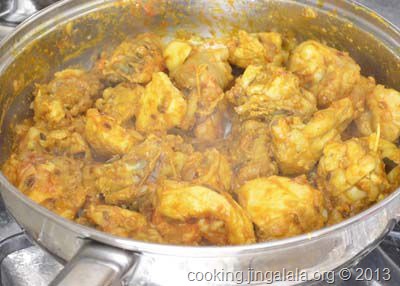
Step 15. Mix well.
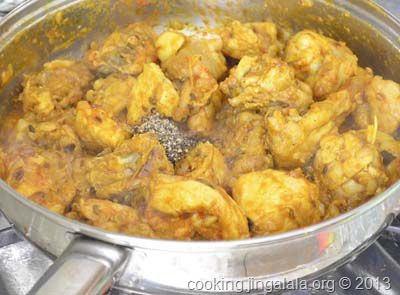
Step 16. Add freshly ground/crushed black pepper.
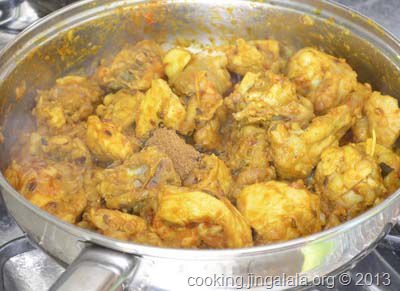
Step 17. Add the cumin powder.
Step 18. Mix them up well.
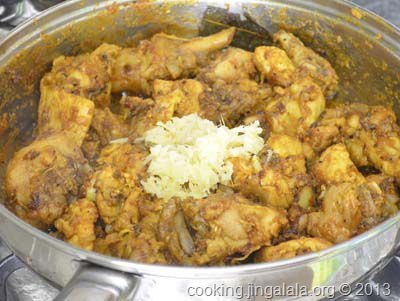
Step 9. Add the finely minced/grated ginger. Mix them.
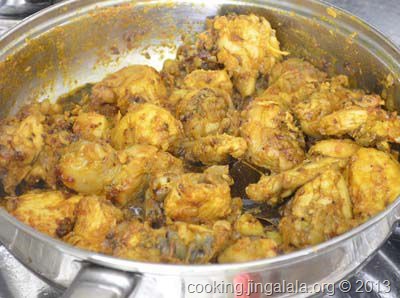
Step 20. Keep mixing them often to avoid the masala getting stick to the pan.
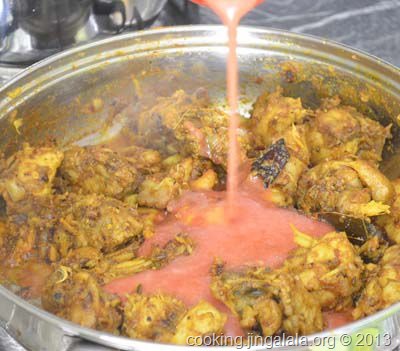
Step 21. Now add the blended tomato.
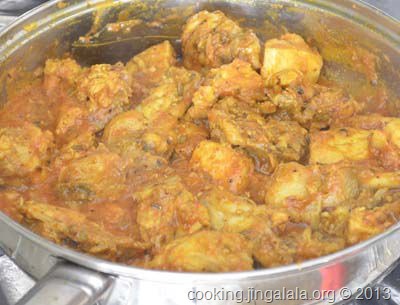
Step 22. Mix well. Turn flame to Medium-Low. Close the pan with a tight lid and allow the chicken to get cooked completely with it’s juice and tomatoes flavors. About 10+ minutes.
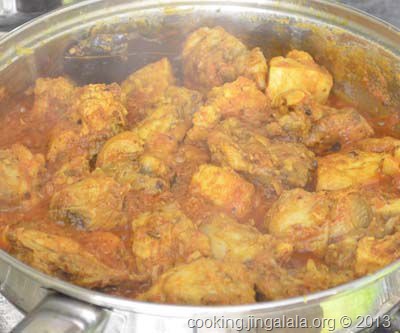
Step 13. Open the lid. Check the doneness of the chicken. Check the taste. Switch OFF stove.
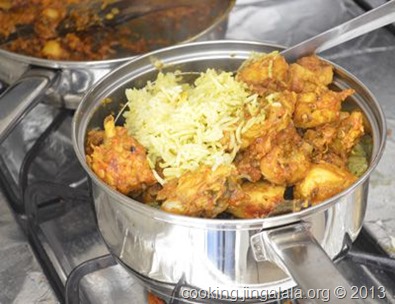
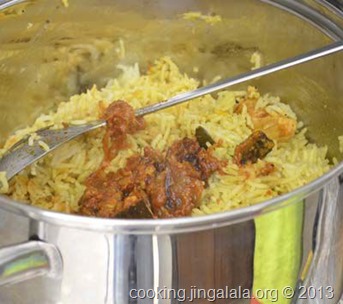
Step 24. Take the cooked rice. Add the chicken masala little by little and start to mix gently around the corners not hurting the shape of the grains. [oopsy, wait let me grab a larger vessel.] Add the masalas completely and mix everything together.
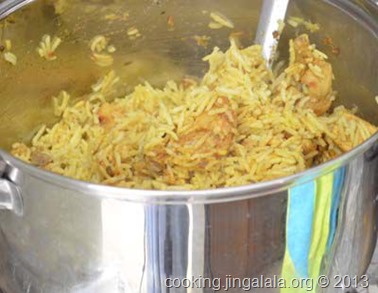
Step 25. You’ll see the rice slowly picking up the colors and flavors from the chicken masala. Once it is mixed thoroughly, set/press them tightly with the spatula. Close lid and keep on stove in Medium-Low heat for 7-10 minutes_._ Then switch OFF stove.
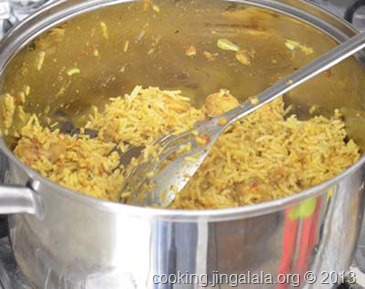
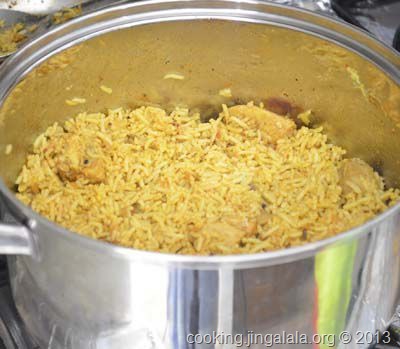
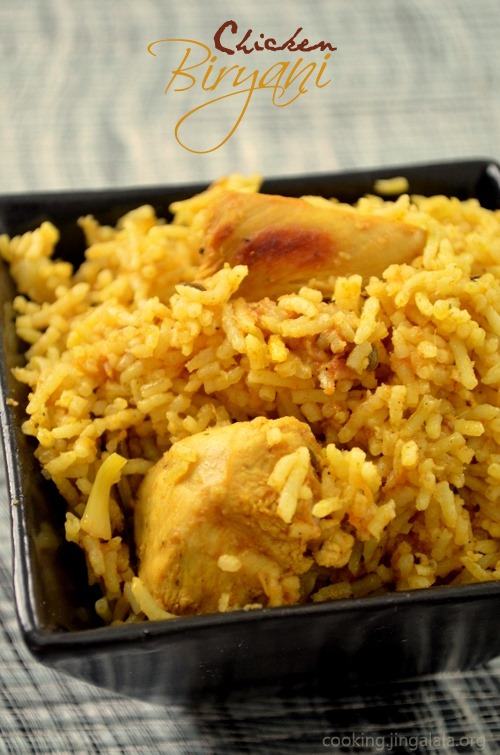
Step 26. Open lid after 10 minutes. If you wish, you may add roasted cashews and raisins. Delicious Chicken Biryani is now ready to serve! [You may remove the bay leaves, cinnamon sticks, cardamom pods and cloves before serving. I leave them just like that and remove from my plate only while eating.]
Serve the Biriyani rice with any Raita (Cucumber or Onion pachchadi)

The saffron threads gave a wonderful flavor to the Biryani, the very same flavor and taste of a Restaurant Biriyani! So do not miss to add them. I normally share interesting recipes with my mom. When I shared Fish Biryani recipe with her, she couldn’t imagine the idea of making biryani with fish. But I’ve tried Fish Biriyani many a times in my kitchen and it turns out perfect every time! When I shared this Chicken Briyani recipe with her, she mocked and said… ‘oh, varutha soru madhiri ya?’ …![]()
![]()
________________________________________________ Varuttha soru – When we make masala curries like chicken varuval, mutton varuval, mochai payaru masala etc, after transferring the curries into a bowl, we leave out some masala and pieces in the wok. We then add some steamed hot rice into the wok, little ghee and salt, mix it and serve it hot in small plates. Normally when elaborate meals are prepared, it’ll take time to finish cooking. This is just served before the meal gets ready.
Indian Style Chicken Briyani Recipe
- PREP TIME: 5 min
- COOK TIME: 40 min
- TOTAL TIME: 45 min
- YIELD: 4
- DIFFICULTY: medium
- RECIPE TYPE: Entree, Flavored Rice
Ingredients:
- *\ To make the Biryani Rice ***
- 2 cup Basmati rice (I use Royal Basmati Rice )
- 2 tbsp Ghee (or 3 tbsp Butter)
- 2 Bay leaf (Biriyani ilai)
- 1 sprig Curry leaves
- 1″ Cinnamon Stick (Pattai)
- 2 Green Cardamom (Elachi/Elakkai), you can substitute with 1/4 tsp cardamom powder
- 2 Cloves
- 2 tsp Ginger, minced/grated
- 1/2 tsp Turmeric powder
- 1/4 tsp Garam Masala or Curry masala powder
- Pinch of (say 5-7 filaments) Saffron threads (Kungumapoo)
- 4 cup Water
- 1 tsp Salt, adjust to taste
- *\ To make the Garlic and Pepper Chicken Masala ***
- 450 g Chicken, (About 1 lb), I had chicken pieces with bone
- 1 big Onion (about 1½ cup when chopped)
- 7 Garlic cloves (Vellapoondu pallu)
- 1/2 of one big Tomato (when blend gave about 1/2 cup sauce)
- 1 tbsp Fresh ginger, minced/grated
- 2 Bay leaf (Biriyani ilai)
- 1″ Cinnamon Stick (Pattai)
- 1 tsp freshly ground/crushed Black Pepper Corns
- 1/2 tsp Fennel seeds
- 1/4 tsp Cumin seeds
- 1/2 tsp Turmeric powder
- 2 tsp Red Chili Powder
- 1/2 tsp Garam masala or Curry masala powder
- 1/2 tsp Cumin powder
- 1 tsp Salt, adjust to taste
- 2 tbsp Oil, I used Canola oil
Mangala from Cooking.Jingalala.Org Eat Well !
